Build your First Chatbot
This guide walks you through setting up your chatbot from start to finish using the dashboard—no coding required. You’ll learn how to create a chatbot, configure basic settings, adjust its behavior, add initial knowledge, and test everything in the Playground.
Create Your Chatbot
- Navigate to Chatbots from the main dashboard
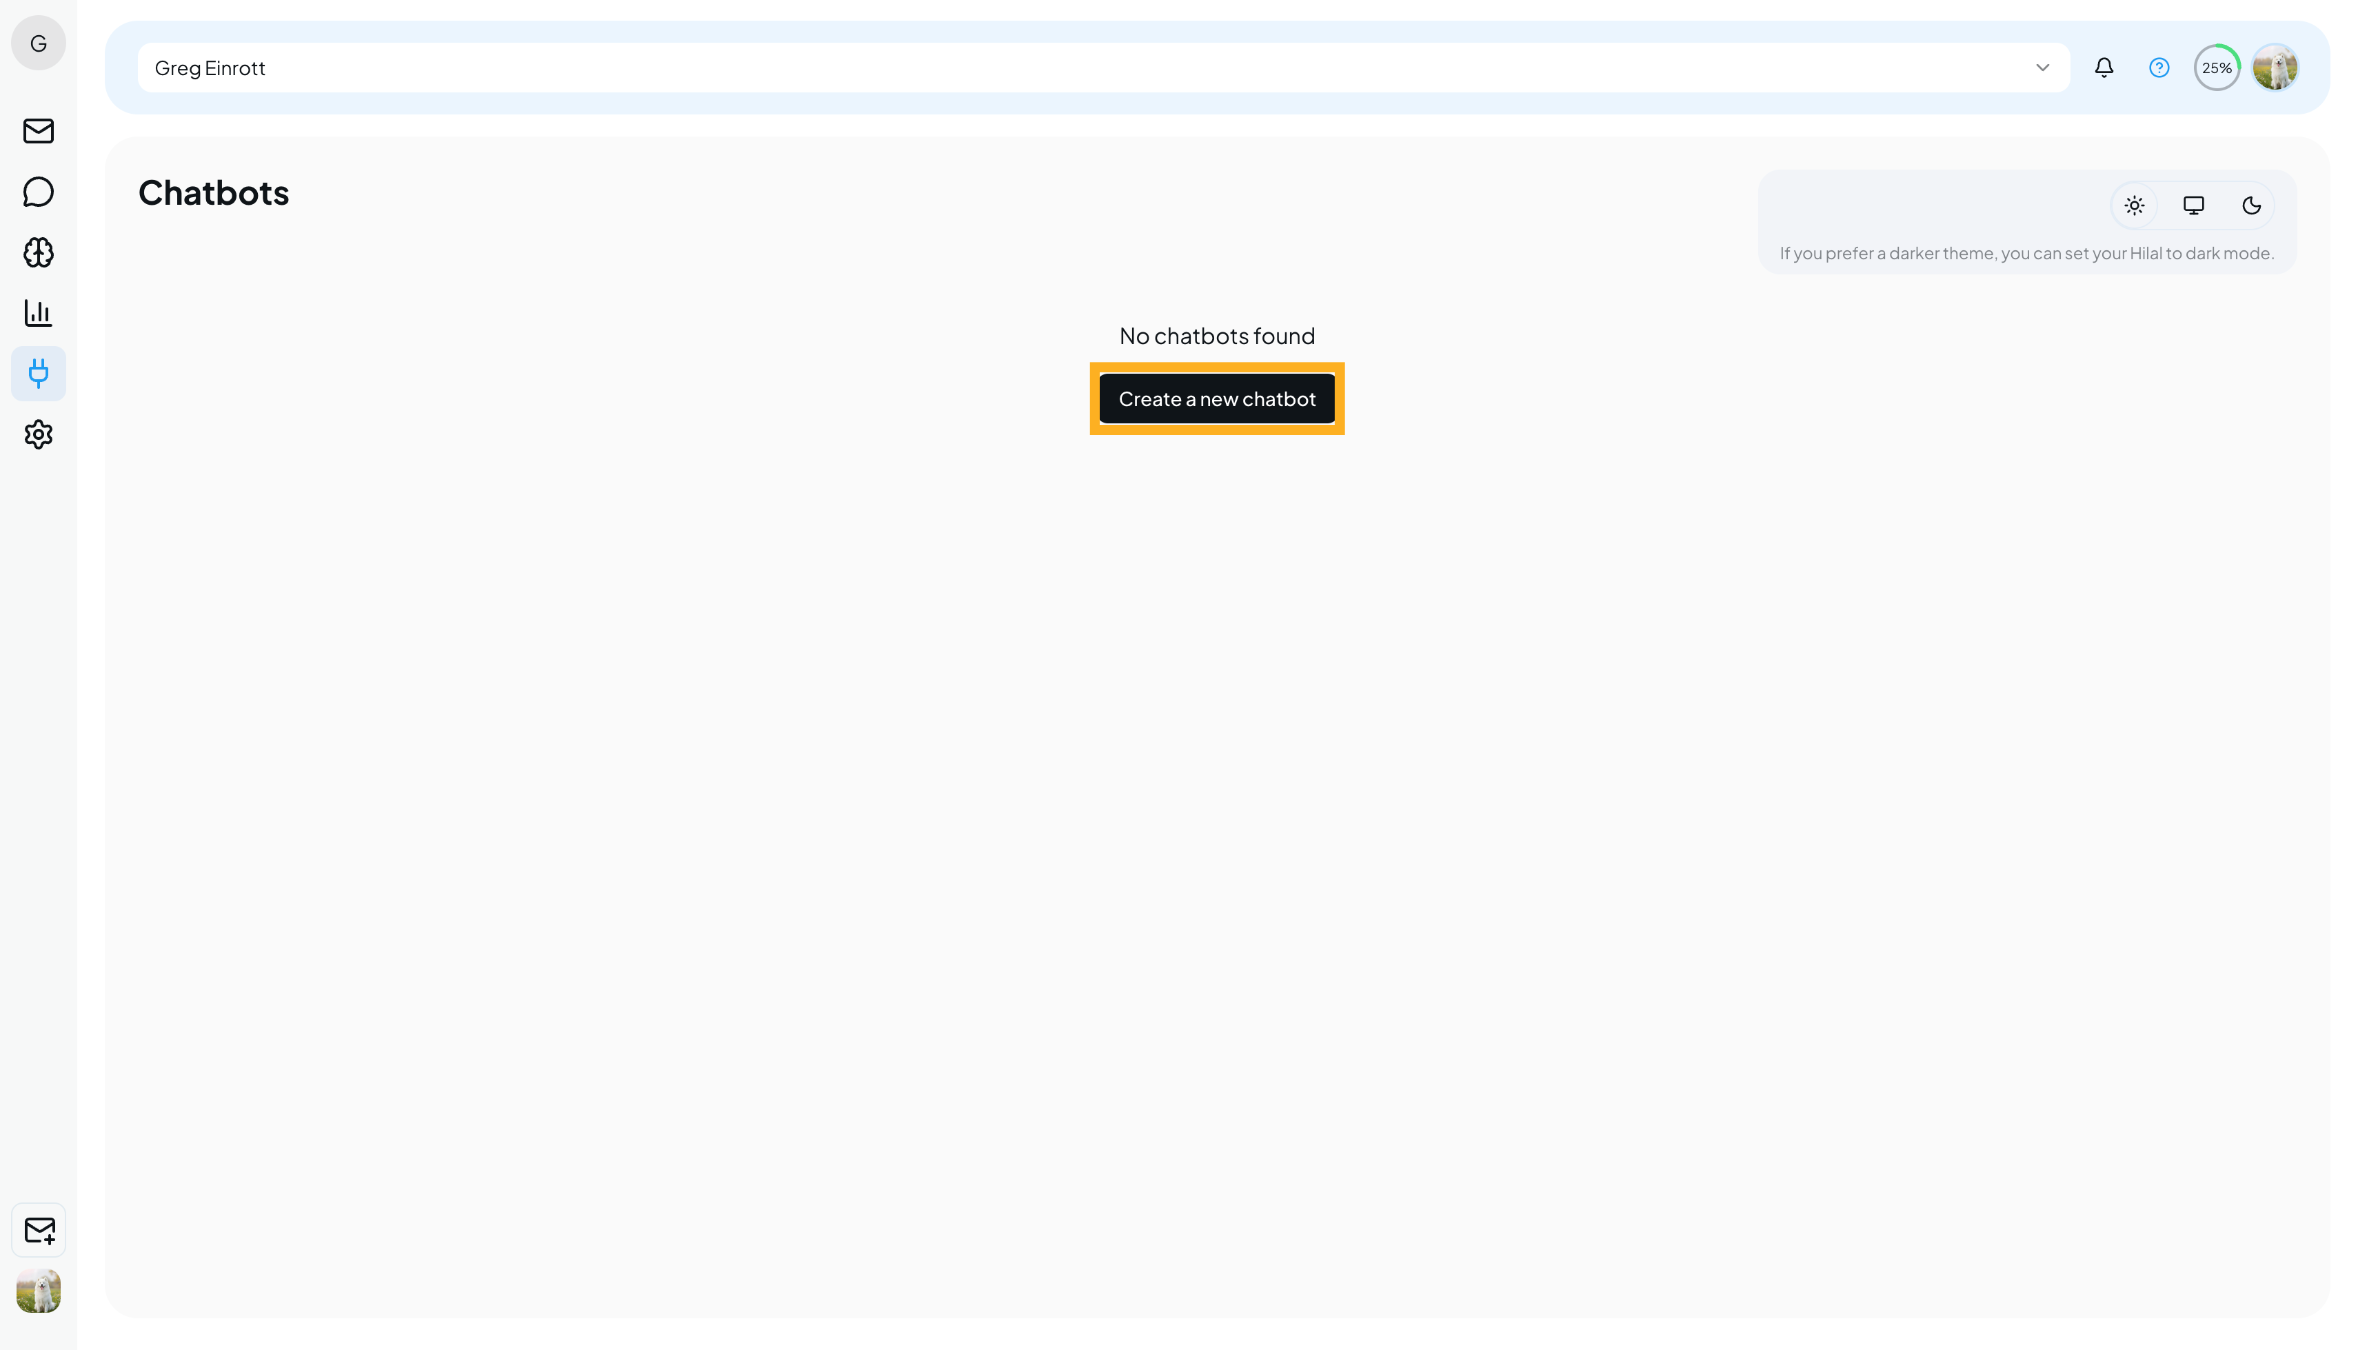
- Click Create New Chatbot
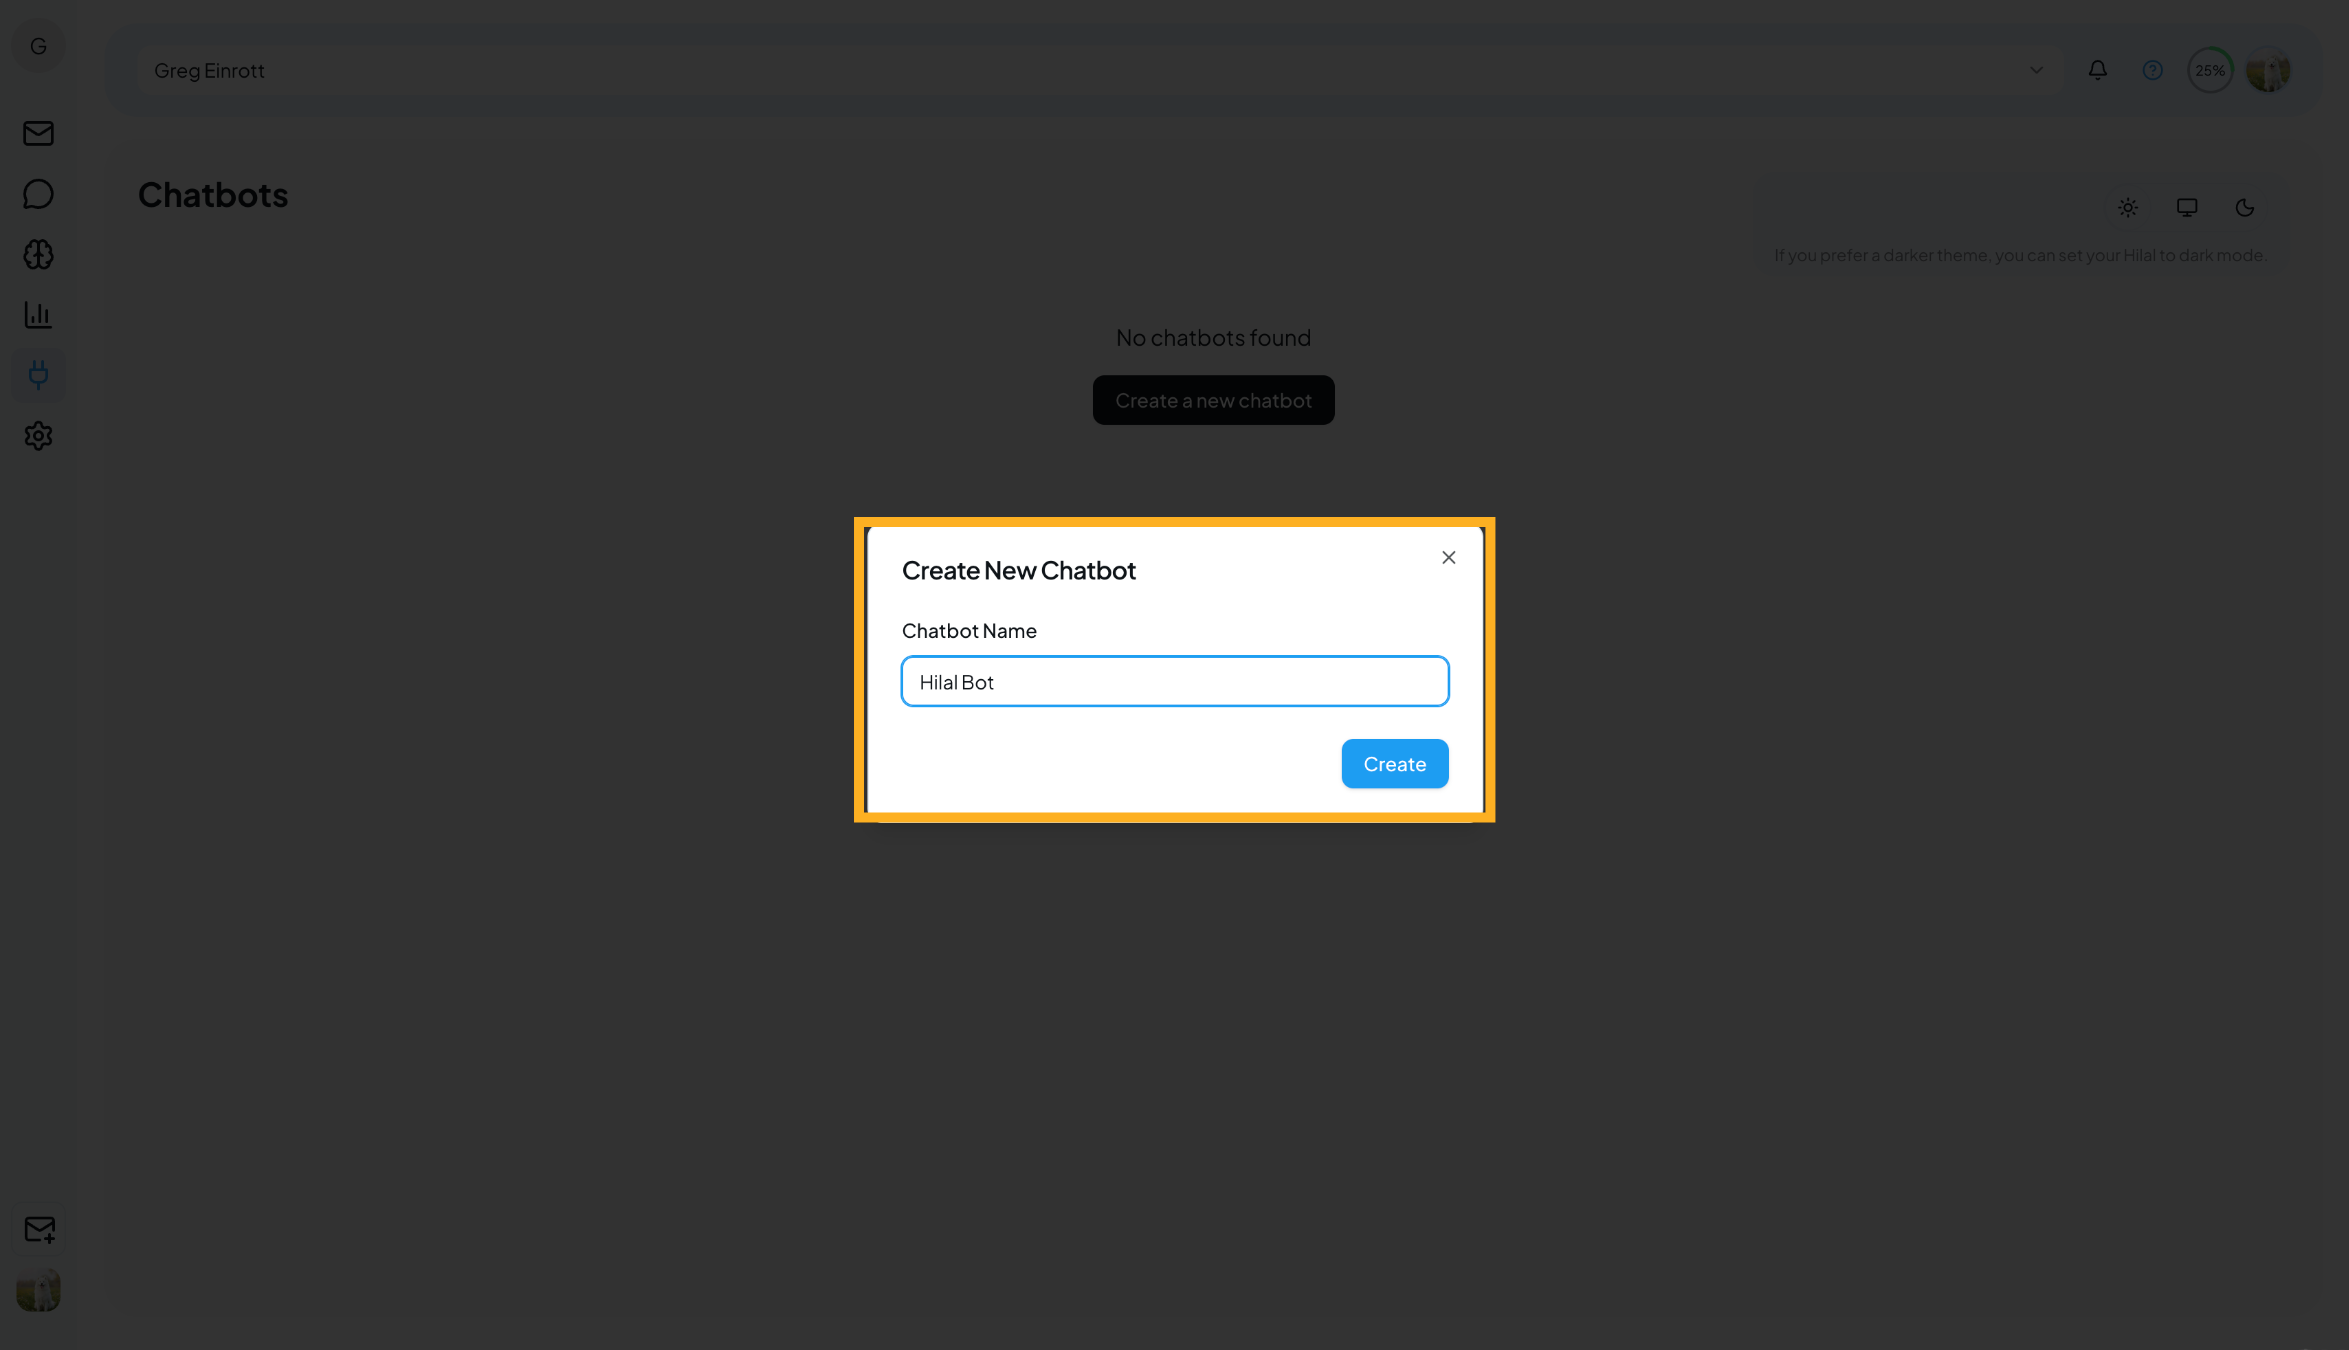
- Choose the chatbot you want to work with from My Chatbots
Once created, you’ll be redirected to the chatbot configuration page, where you can customize it step by step.
General Settings
The General tab helps you define who you are and what you want to achieve with the chatbot. These details help the system tailor recommendations and improve onboarding.
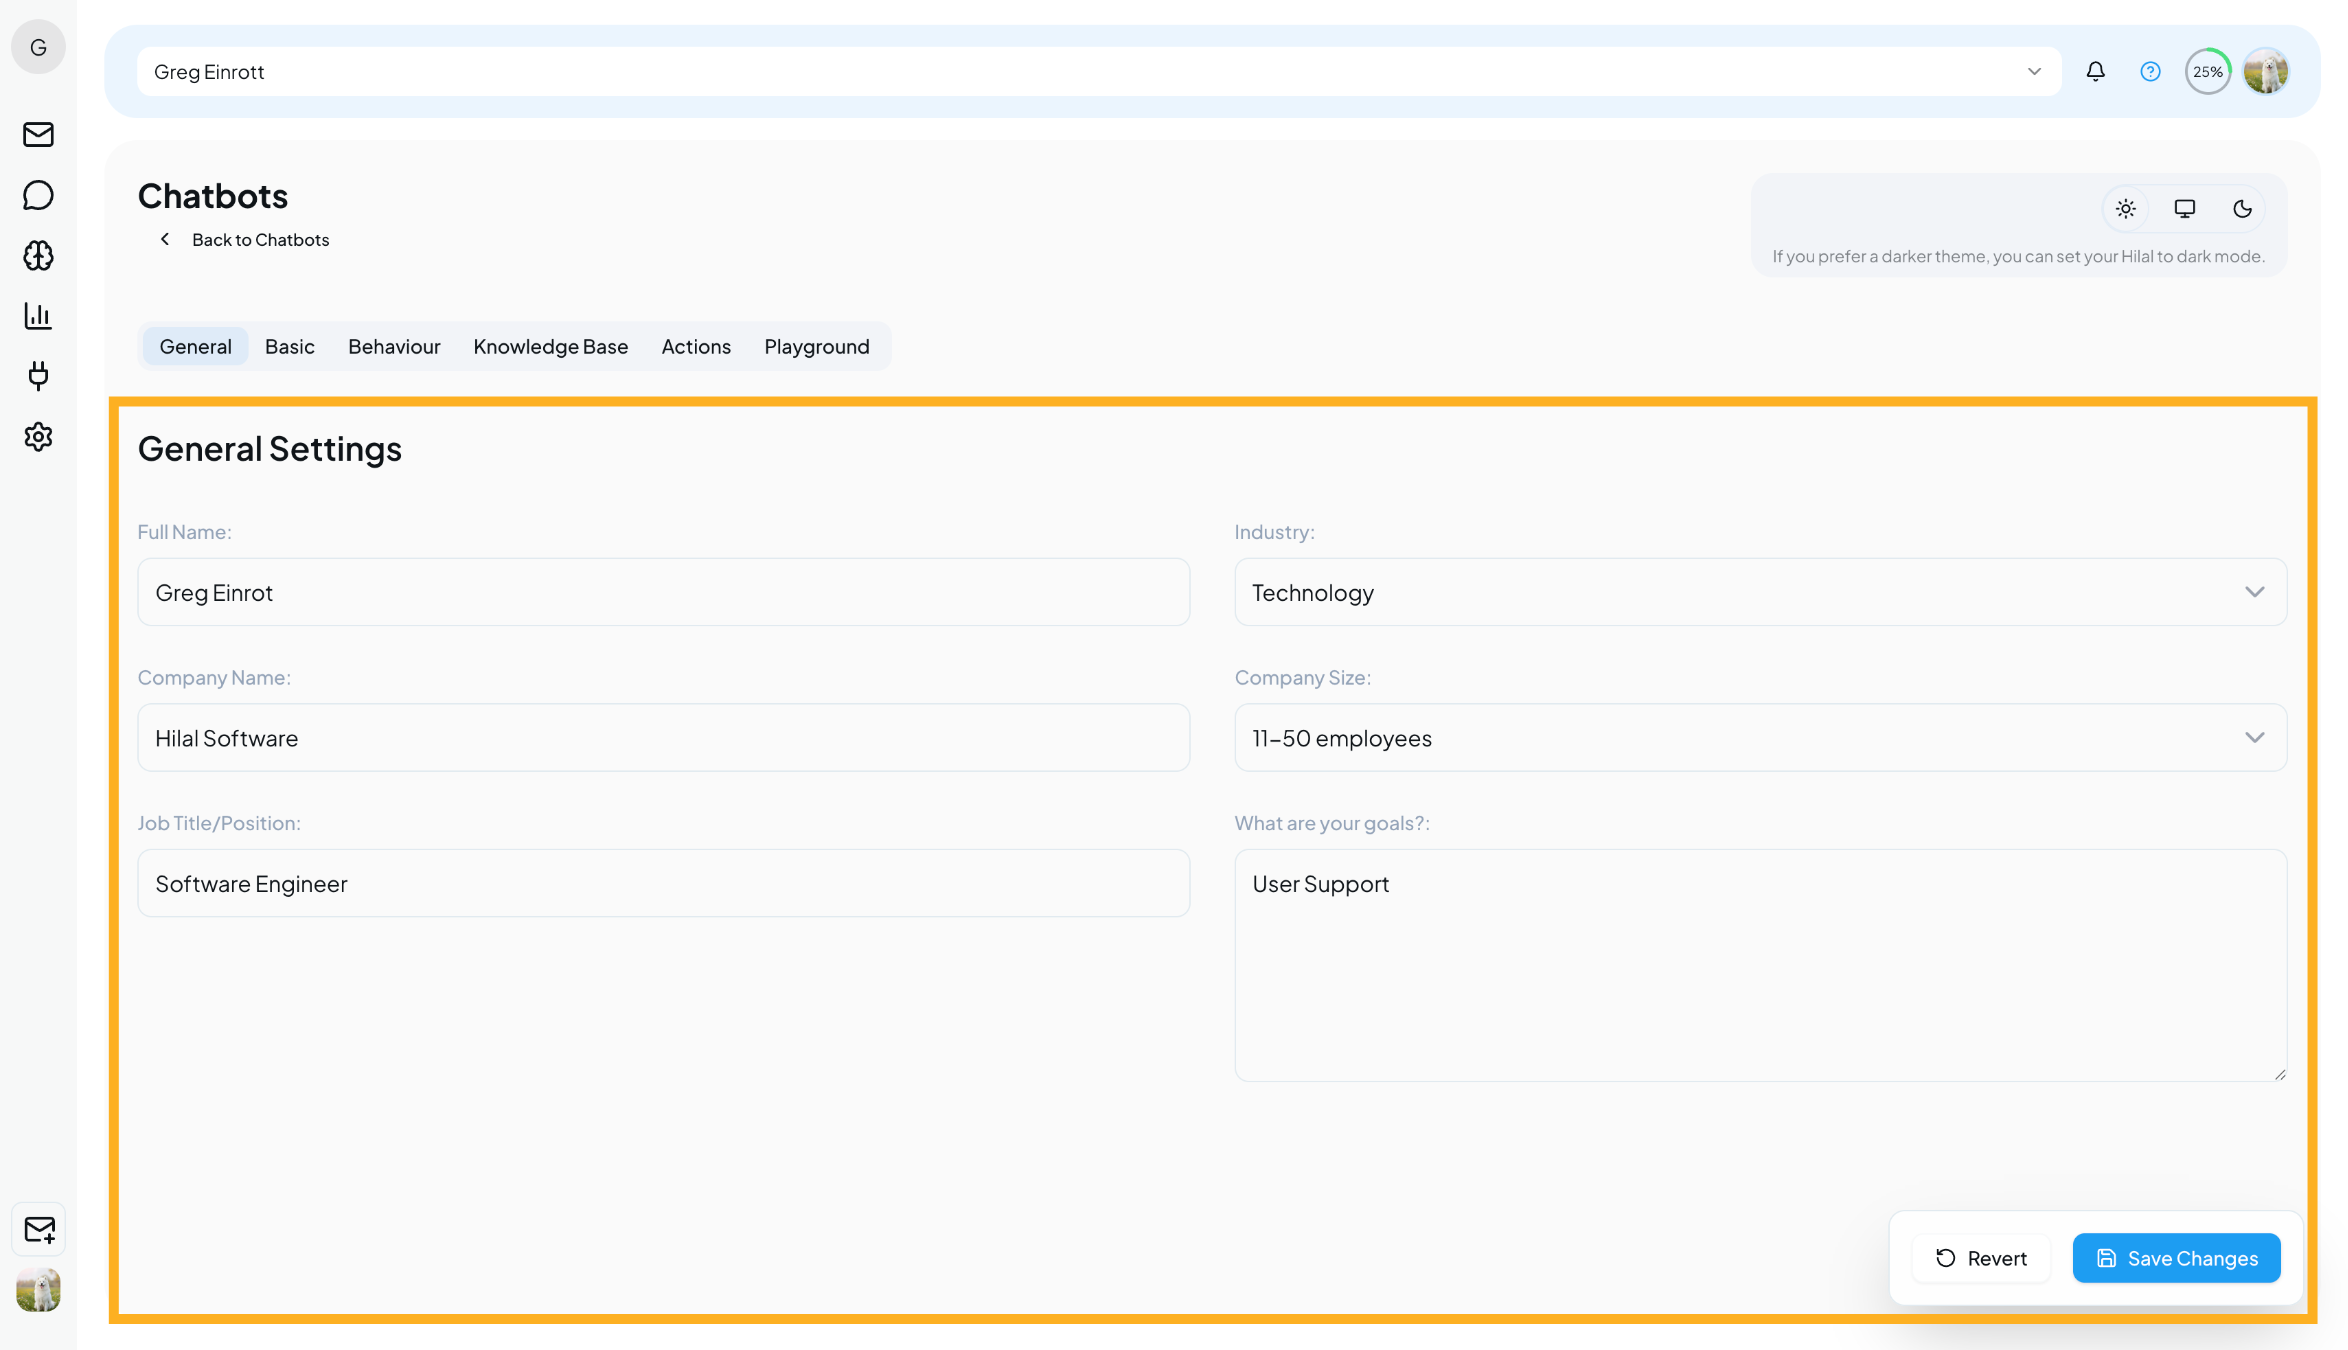
Here you can configure:
- Full Name – Your name
- Company Name – Your organization’s name
- Industry – The industry you operate in
- Company Size – Size of your organization
- Job Title / Position – Your role in the company
- Goals – What you want to achieve using this chatbot
💡 You can update these details anytime as your use case evolves.
Basic Settings – Customize the Chat Widget
The Basic tab lets you control how your chatbot looks and behaves on your website.
Widget Customization
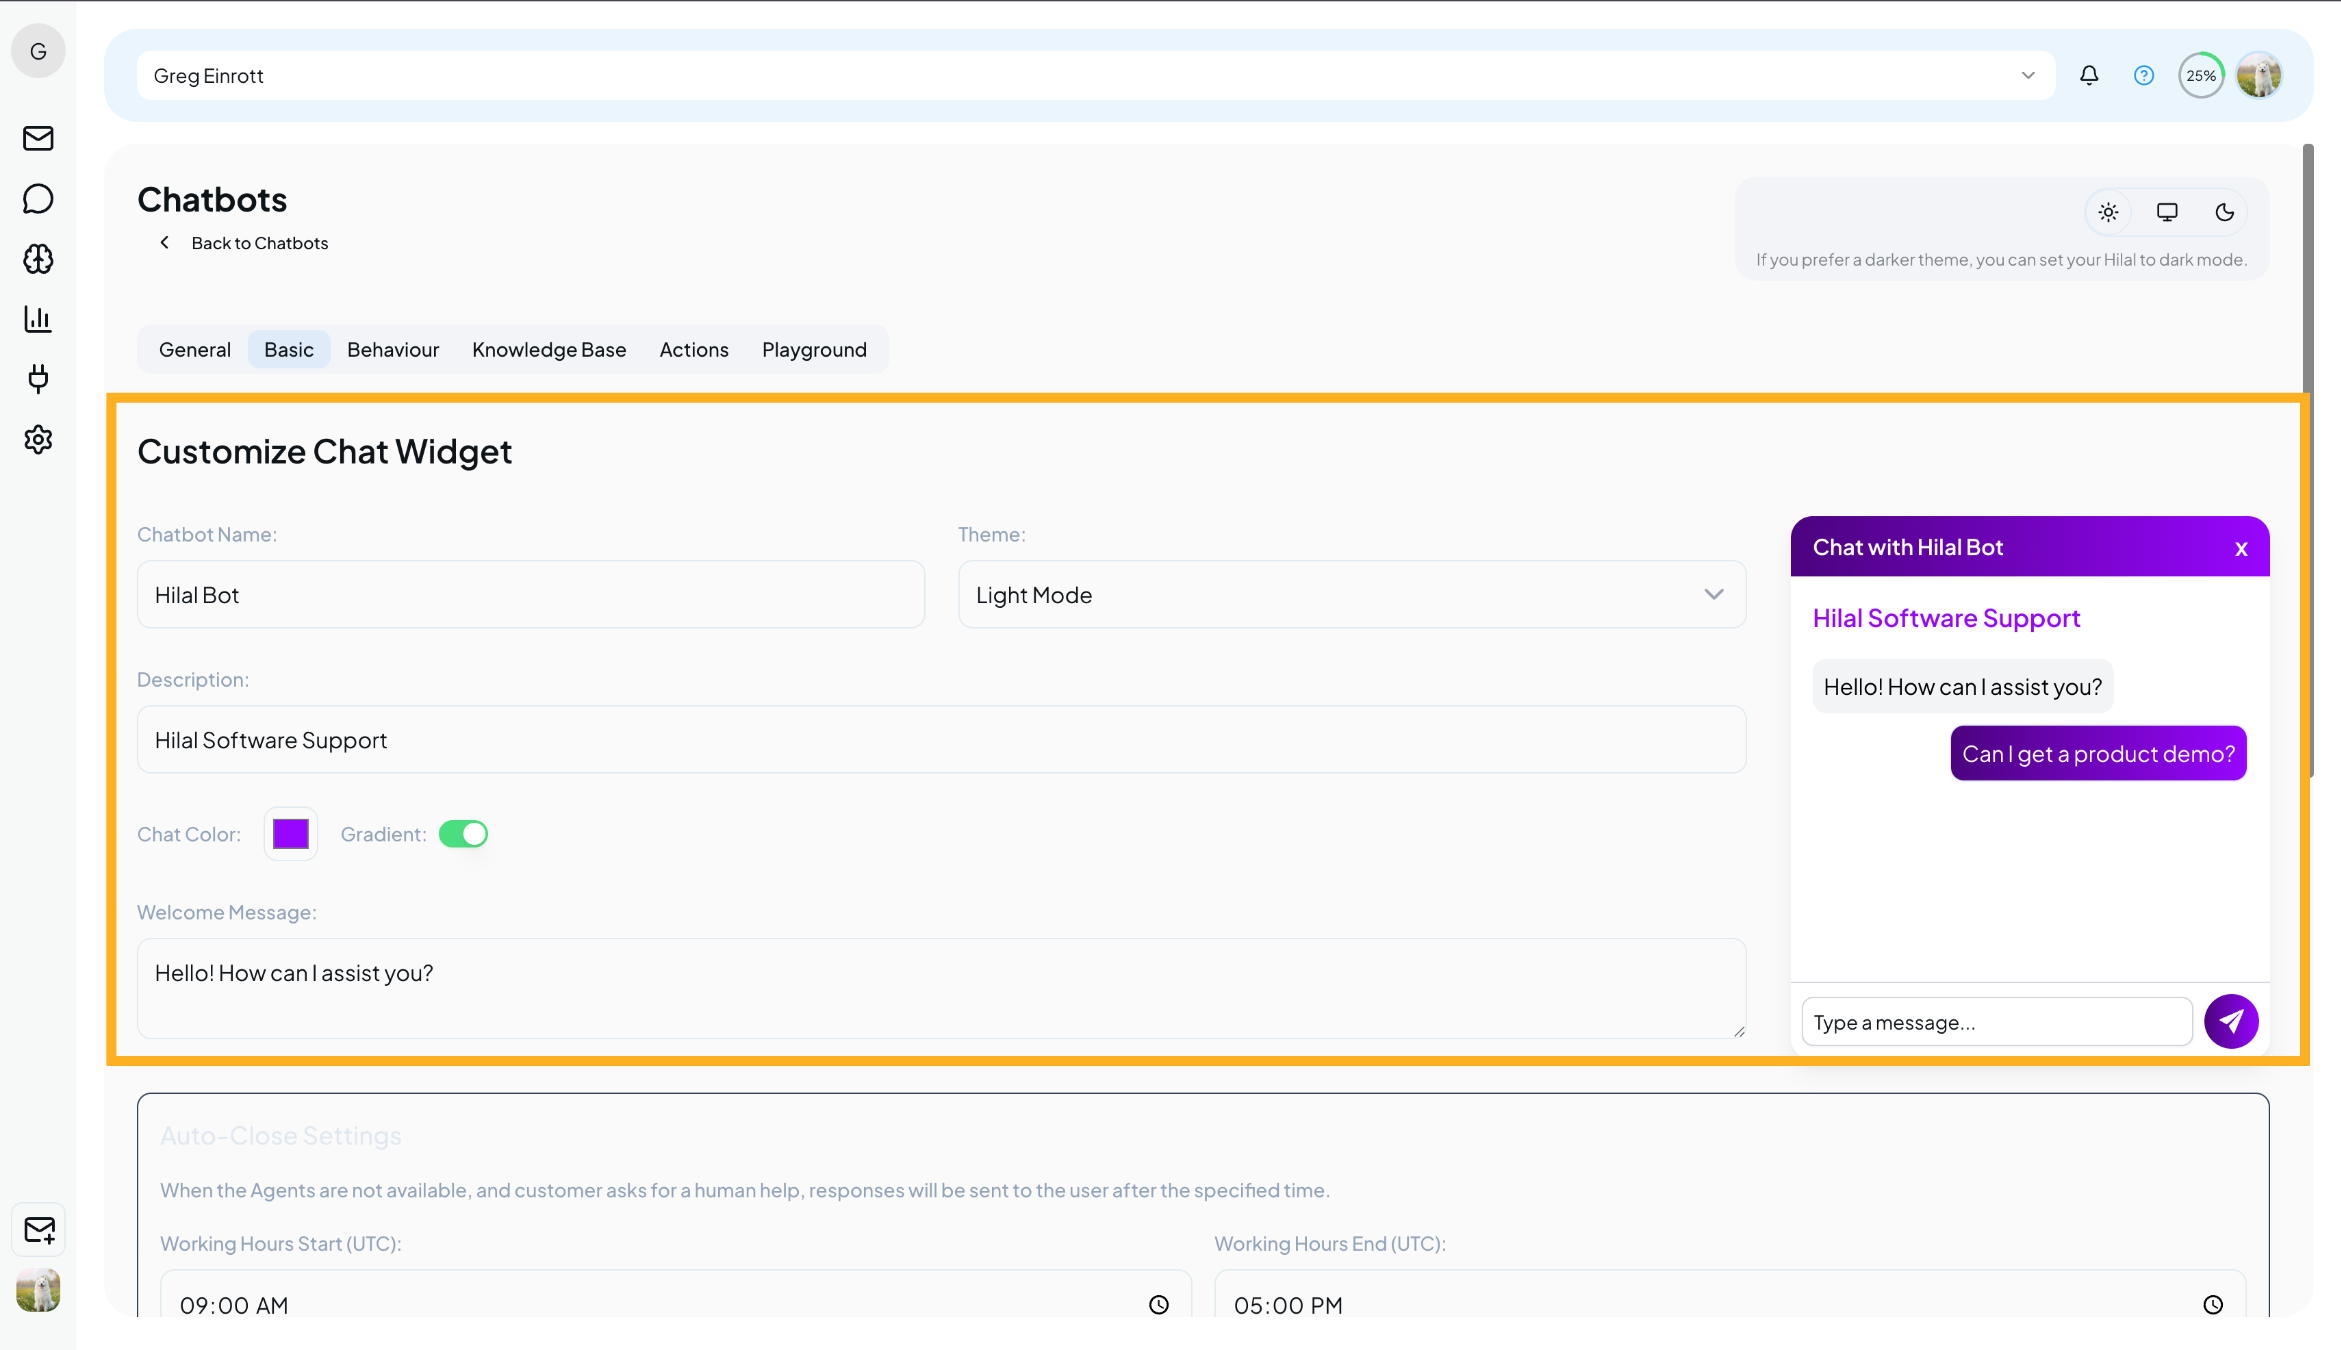
You can personalize:
- Chatbot Name – Displayed to end users
- Theme – Light or Dark mode
- Chat Color & Gradient – Match your brand identity
- Welcome Message – The first message users see
🔍 Live Preview: A real-time preview is shown on the right side so you can instantly see how your chatbot will appear to users.
Auto-Close & Availability Settings
Scroll down in the Basic tab to manage how conversations are handled when agents or users are inactive.
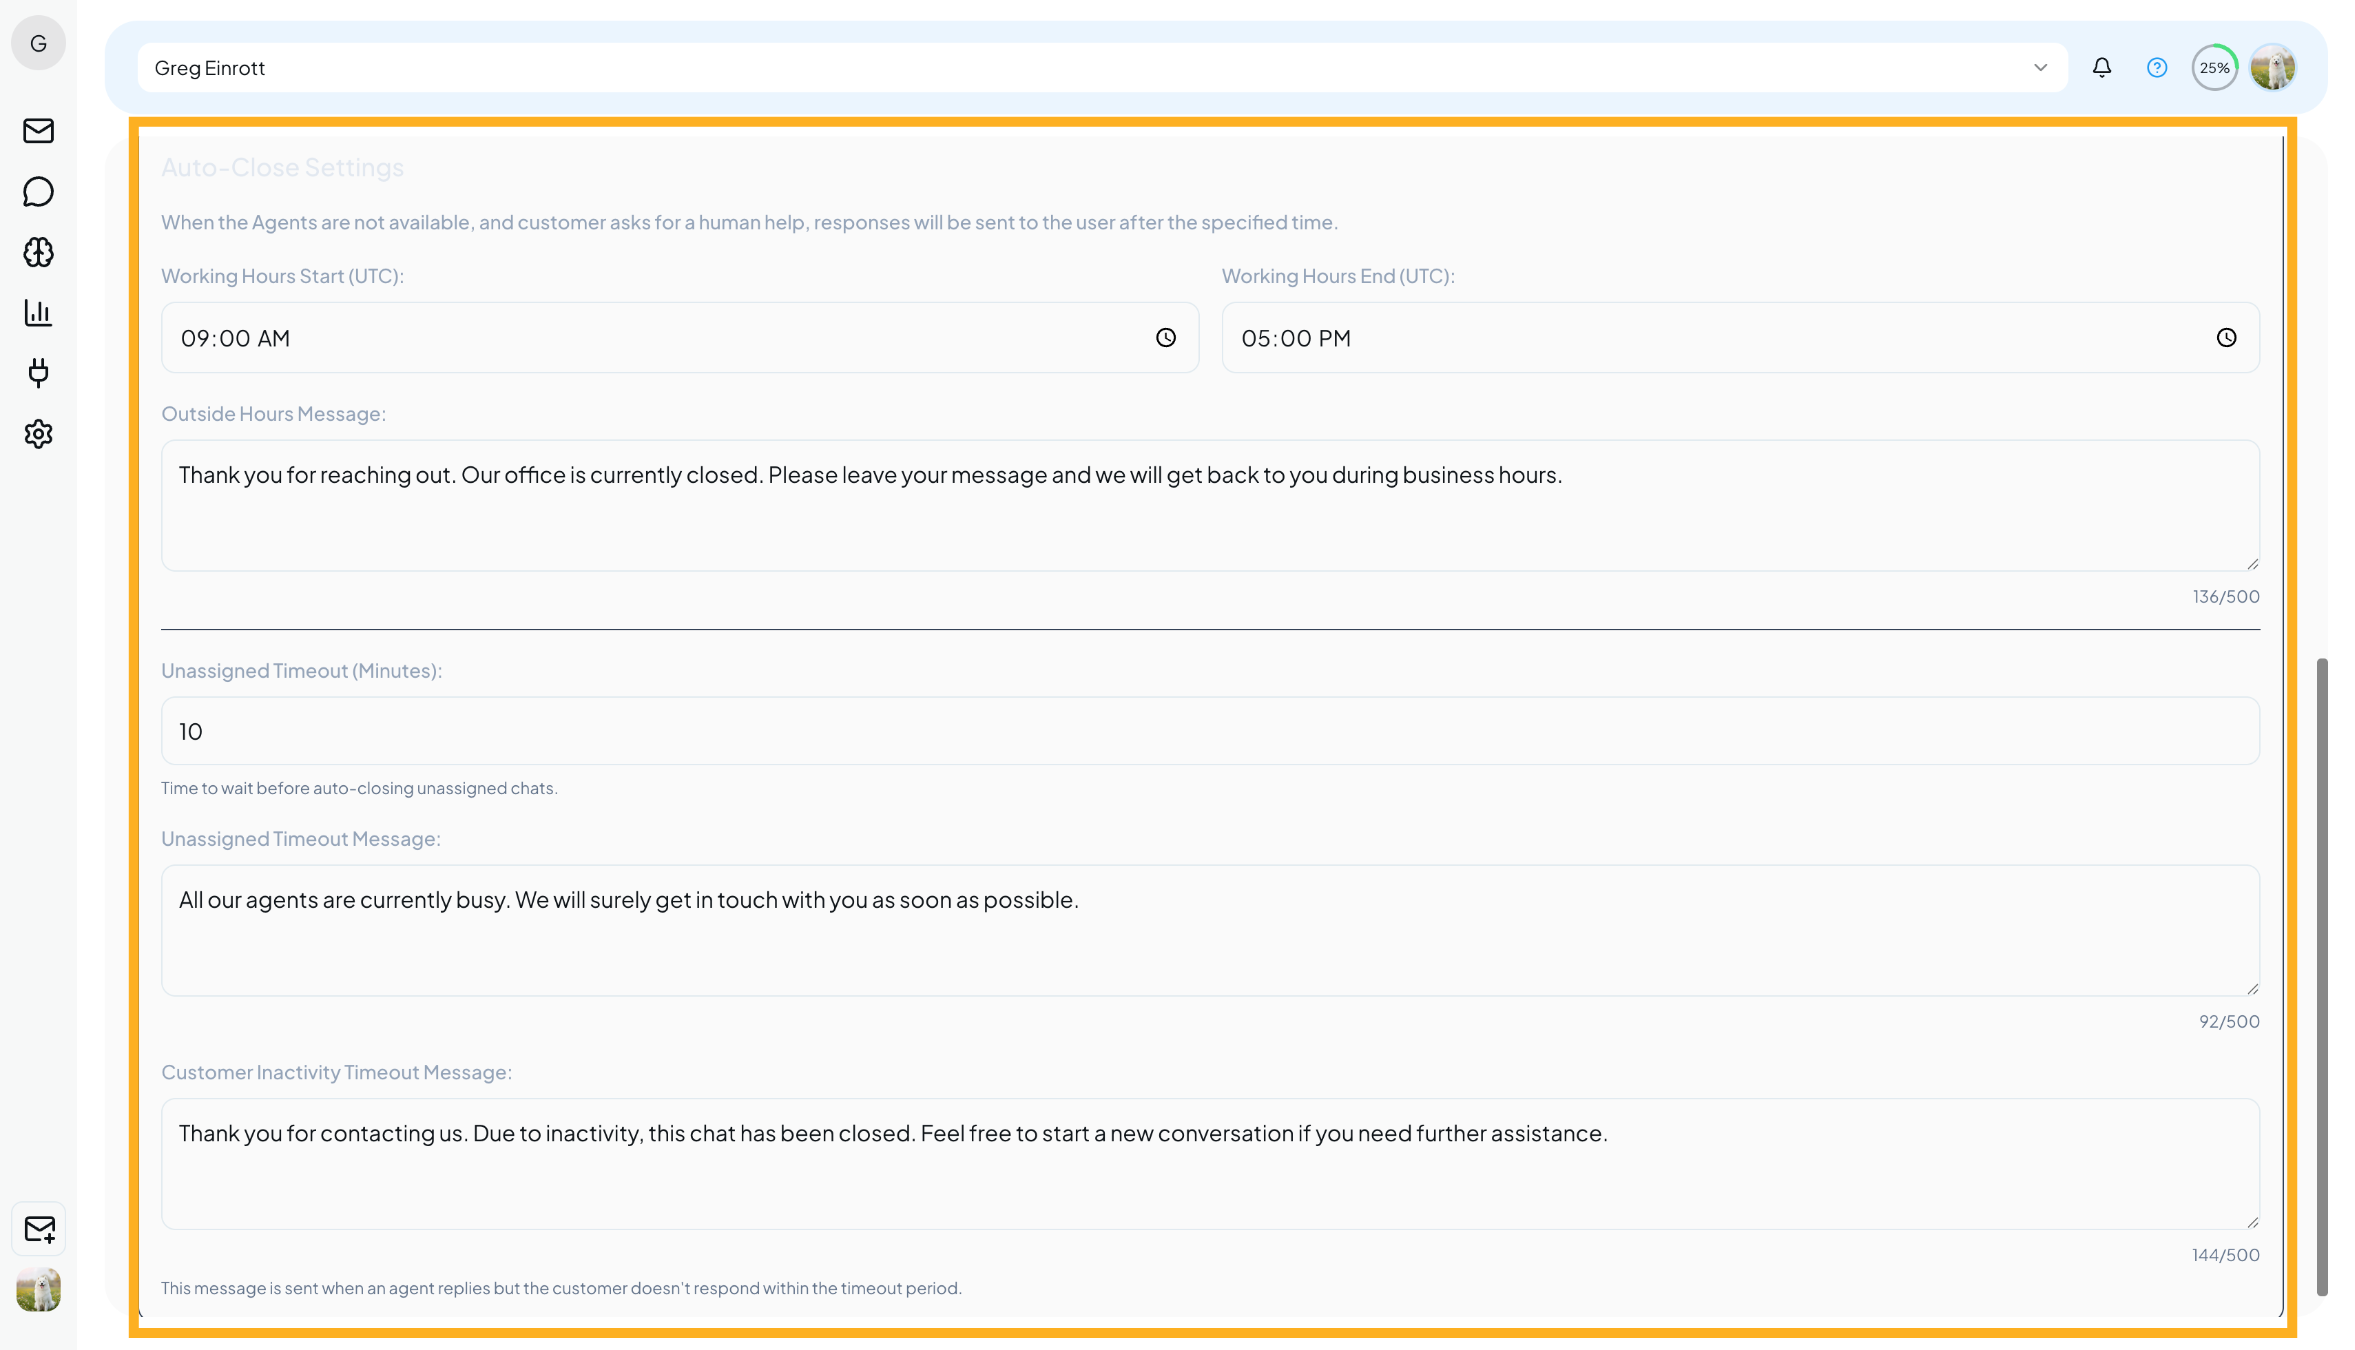
You can configure:
- Working Hours (UTC) – Define when agents are available
- Outside Hours Message – Sent when users contact you outside business hours
- Unassigned Timeout – Automatically close chats if no agent is assigned
- Unassigned Timeout Message – Inform users that agents are currently busy
- Customer Inactivity Message – Sent when a chat is closed due to user inactivity
✨ All messages are fully customizable, so you can match your brand tone and keep users informed.
Behaviour Settings
The Behaviour tab controls how your chatbot communicates.
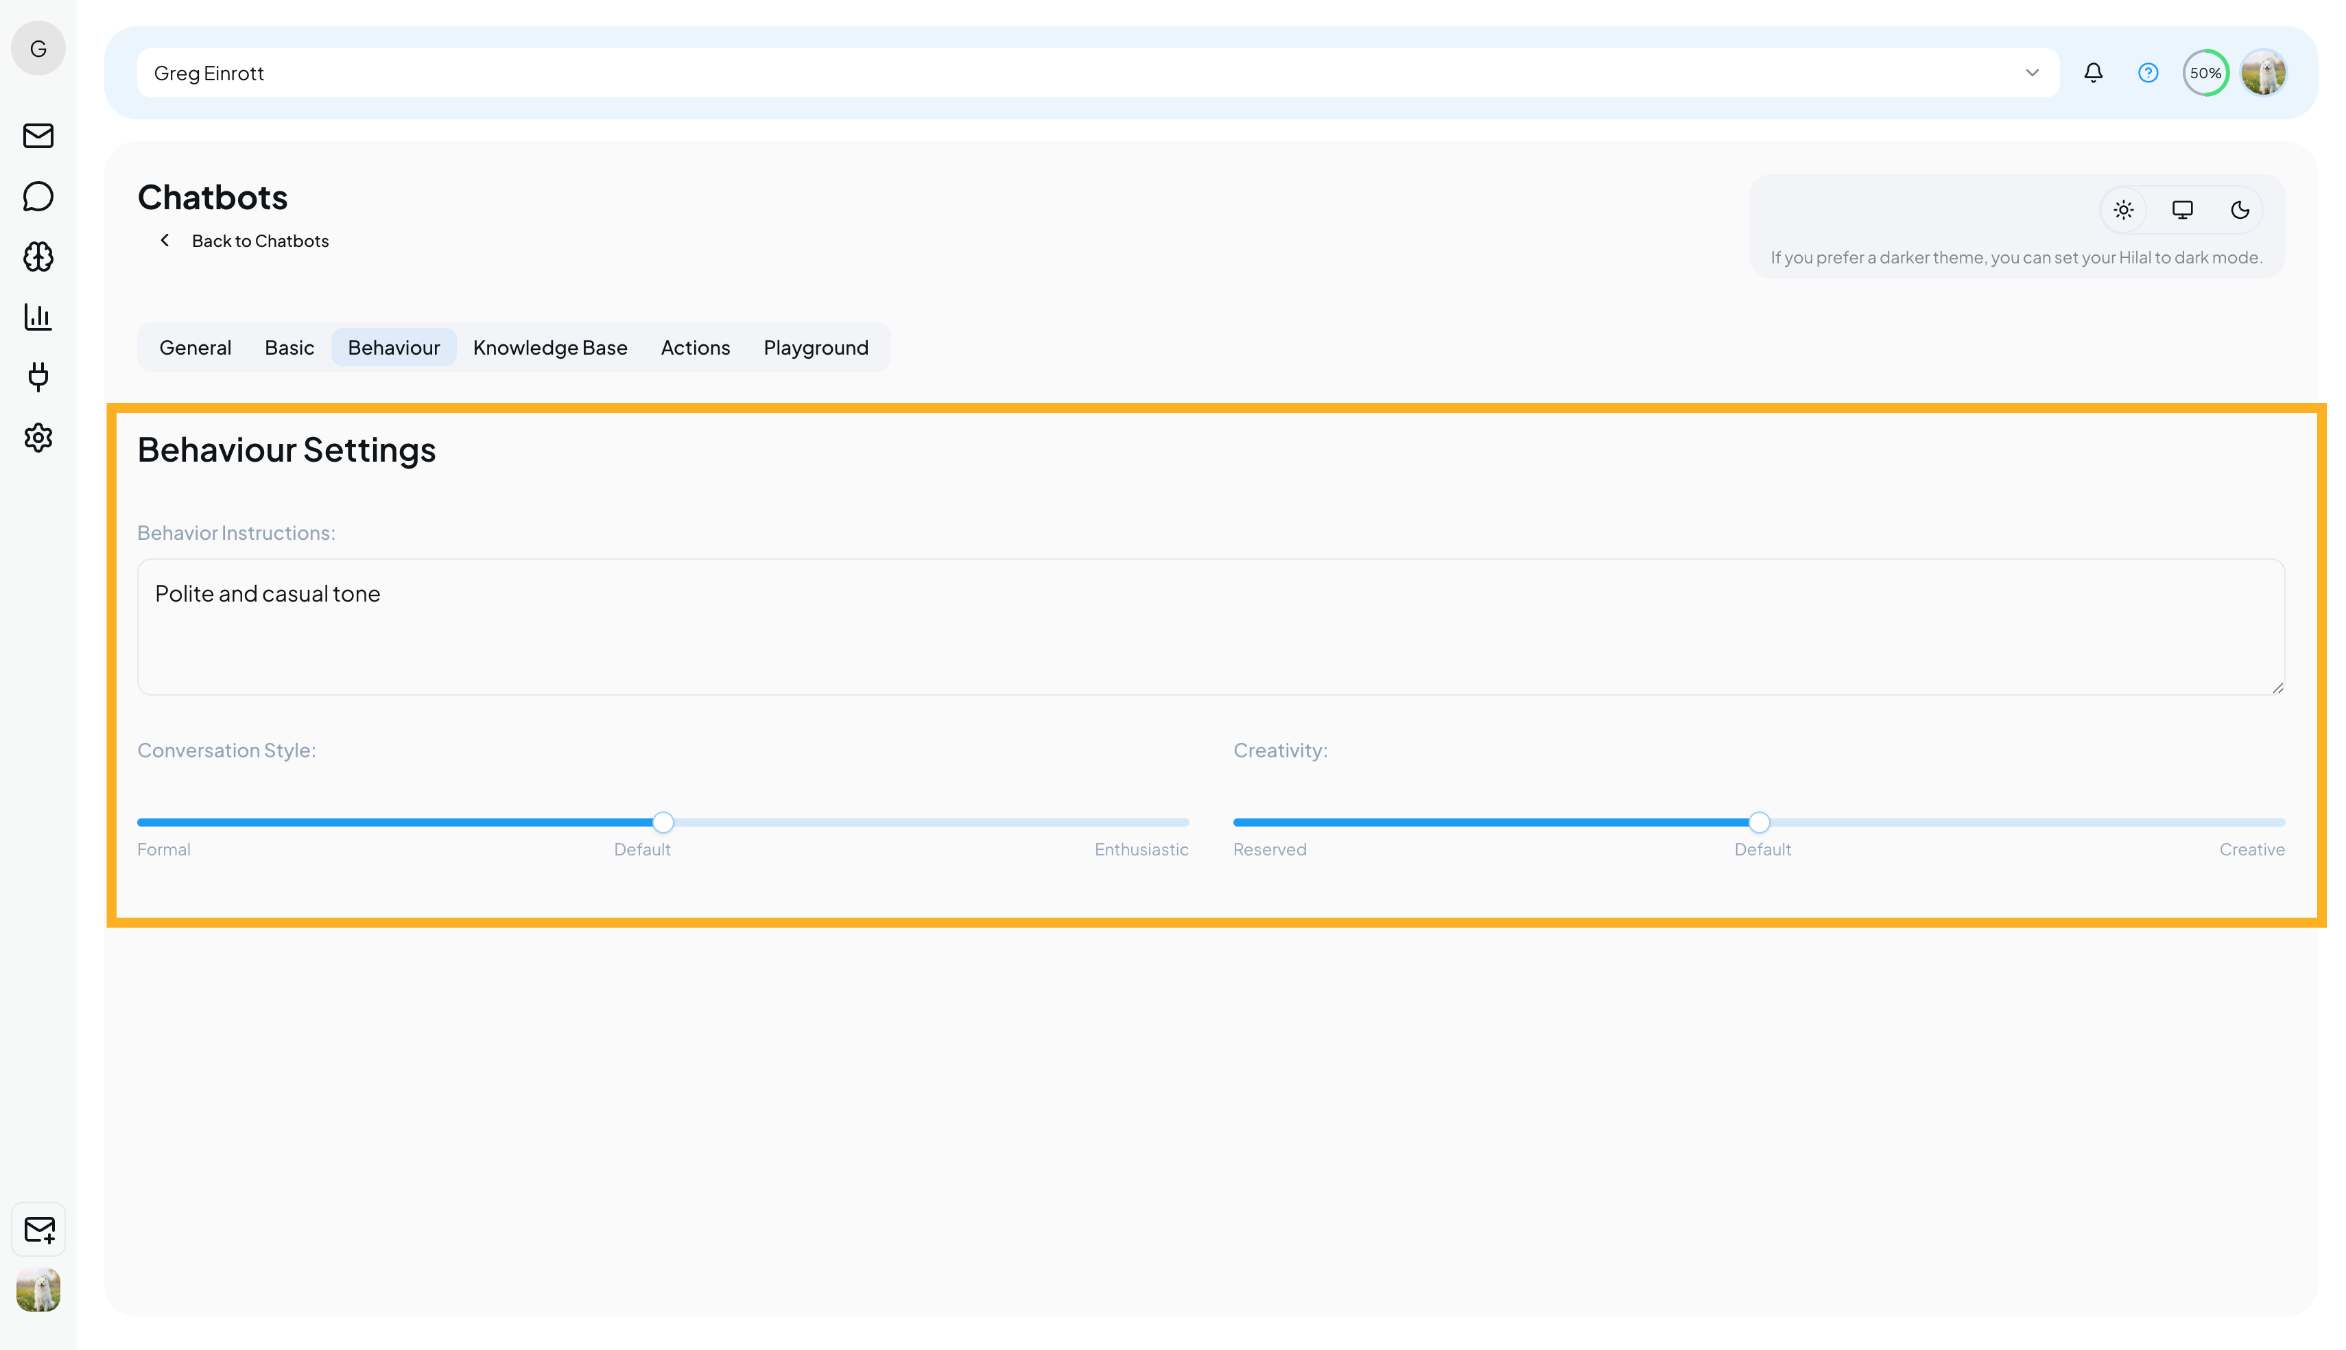
Here you can:
- Add Behaviour Instructions to guide how the AI responds
- Set Conversation Style:
- Formal
- Default
- Enthusiastic
- Adjust Creativity Level:
- Lower creativity → more structured, accurate responses
- Higher creativity → more flexible, conversational replies
💡 For support use cases, a lower creativity level is recommended.
Knowledge Base
The Knowledge Base is where you train your chatbot using your own content.
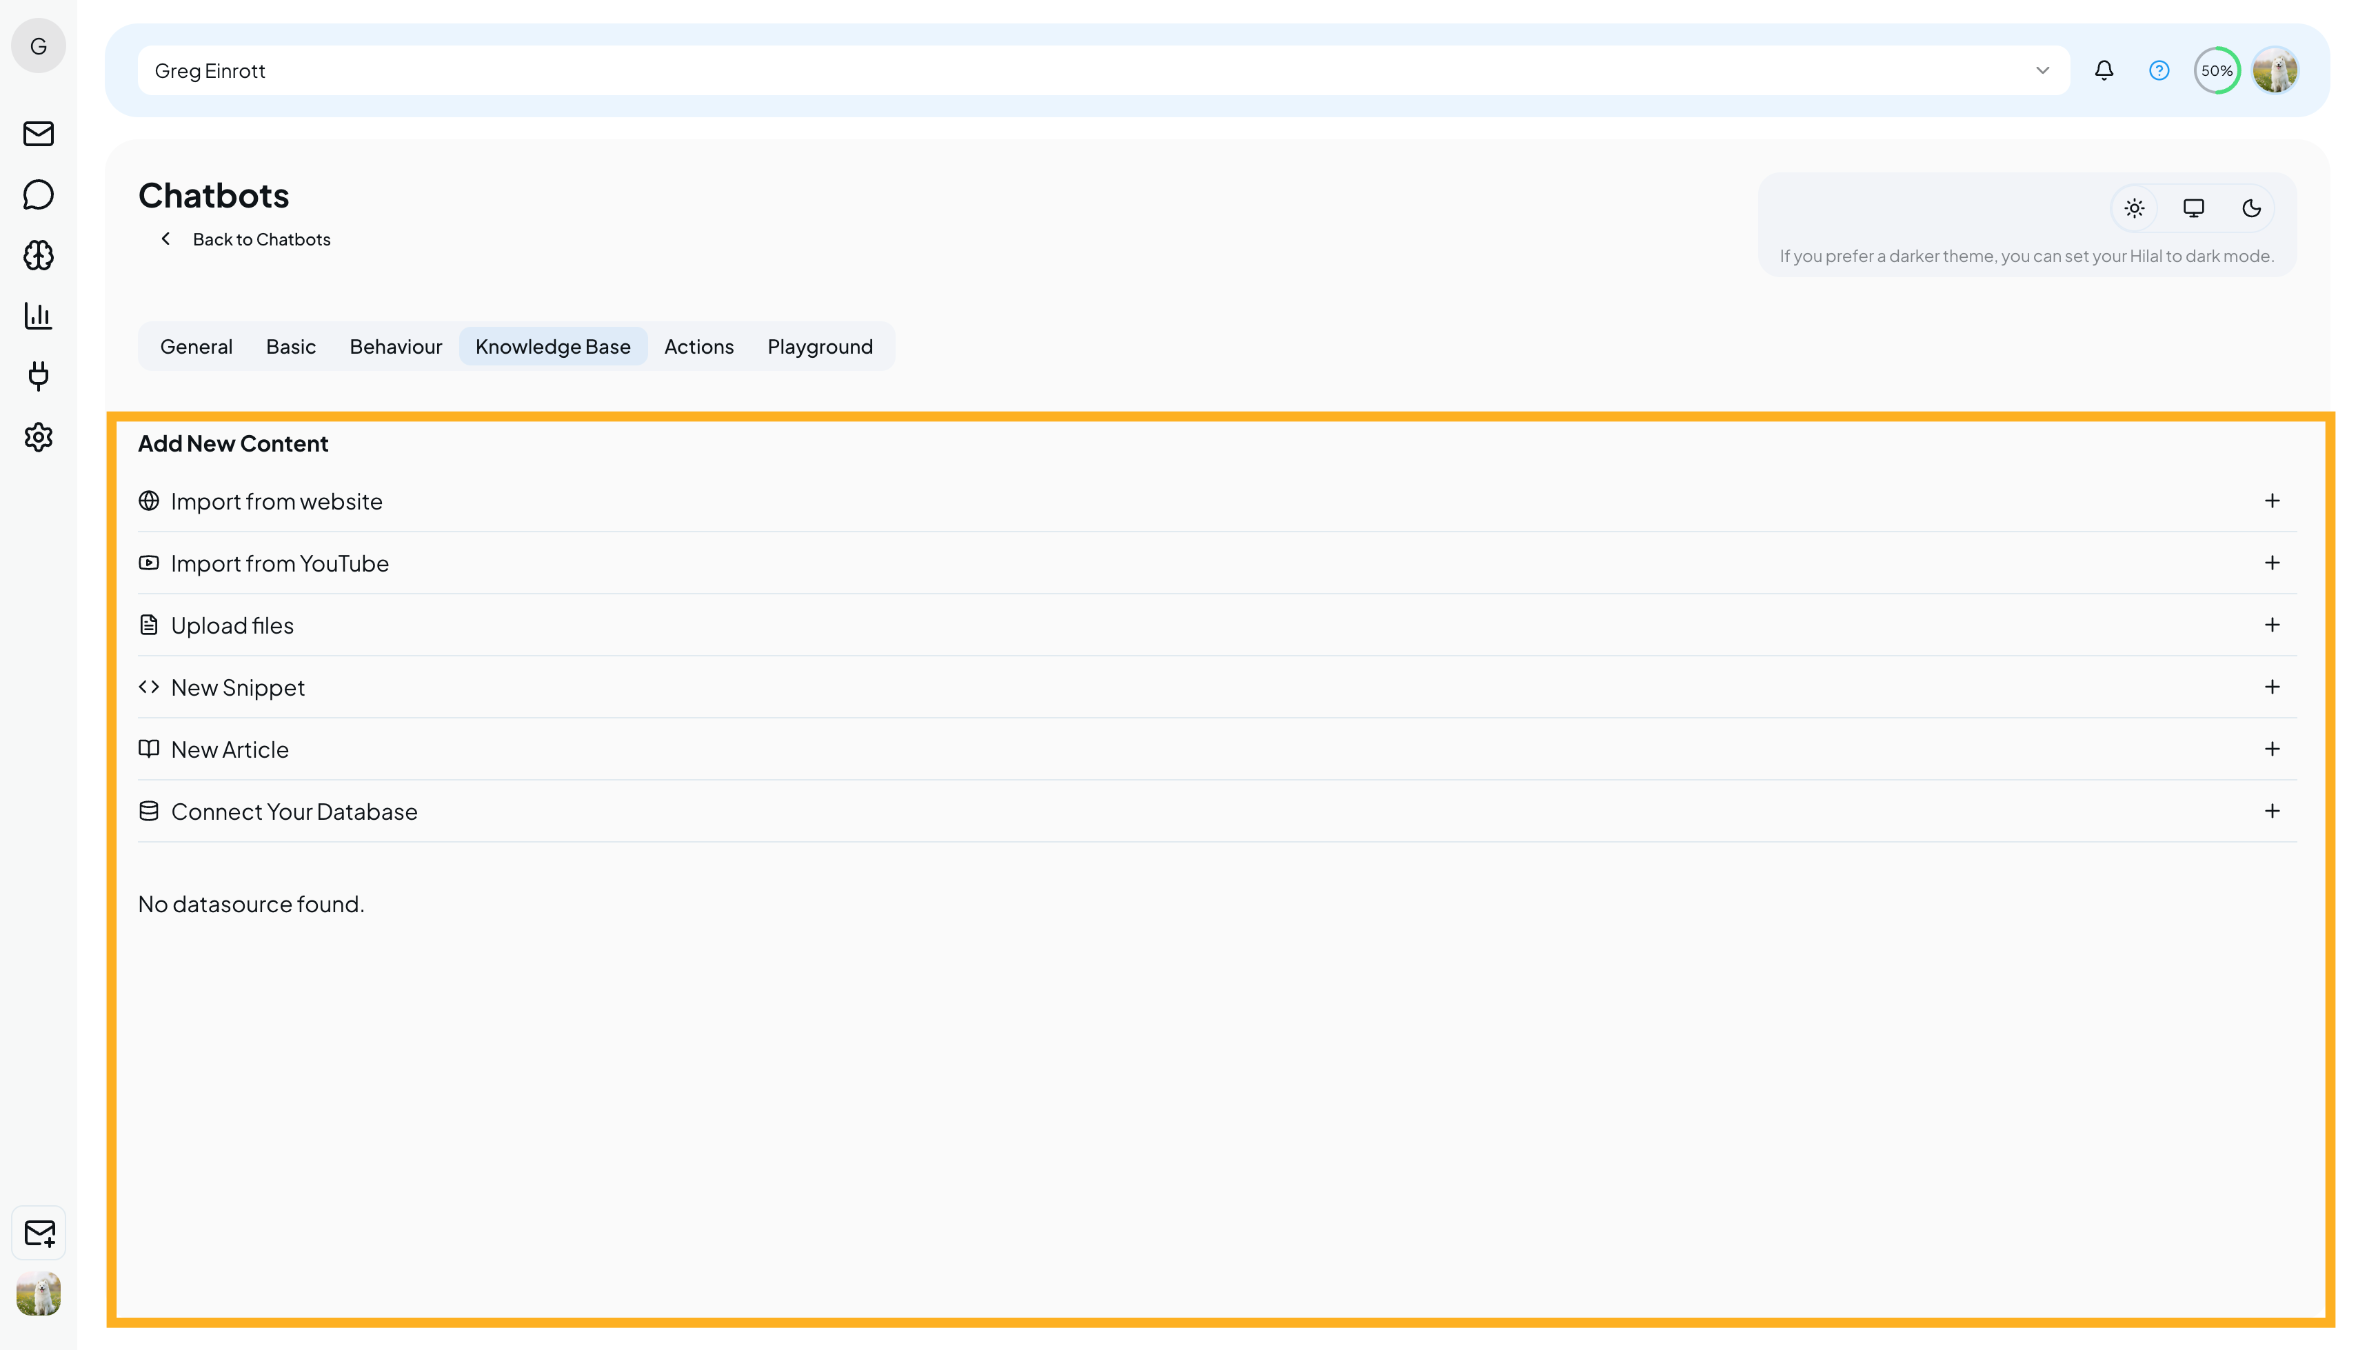
From here, you can:
- Upload documents
- Import content from websites or YouTube
- Add snippets or articles
- Connect external data sources like Google Drive
Learn how to manage documents, URLs, and FAQs to train your chatbot effectively.
View Knowledge Base guide →Actions
The Actions section allows you to extend what your chatbot can do.
It includes three areas:
- Actions – Create custom workflows for the chatbot
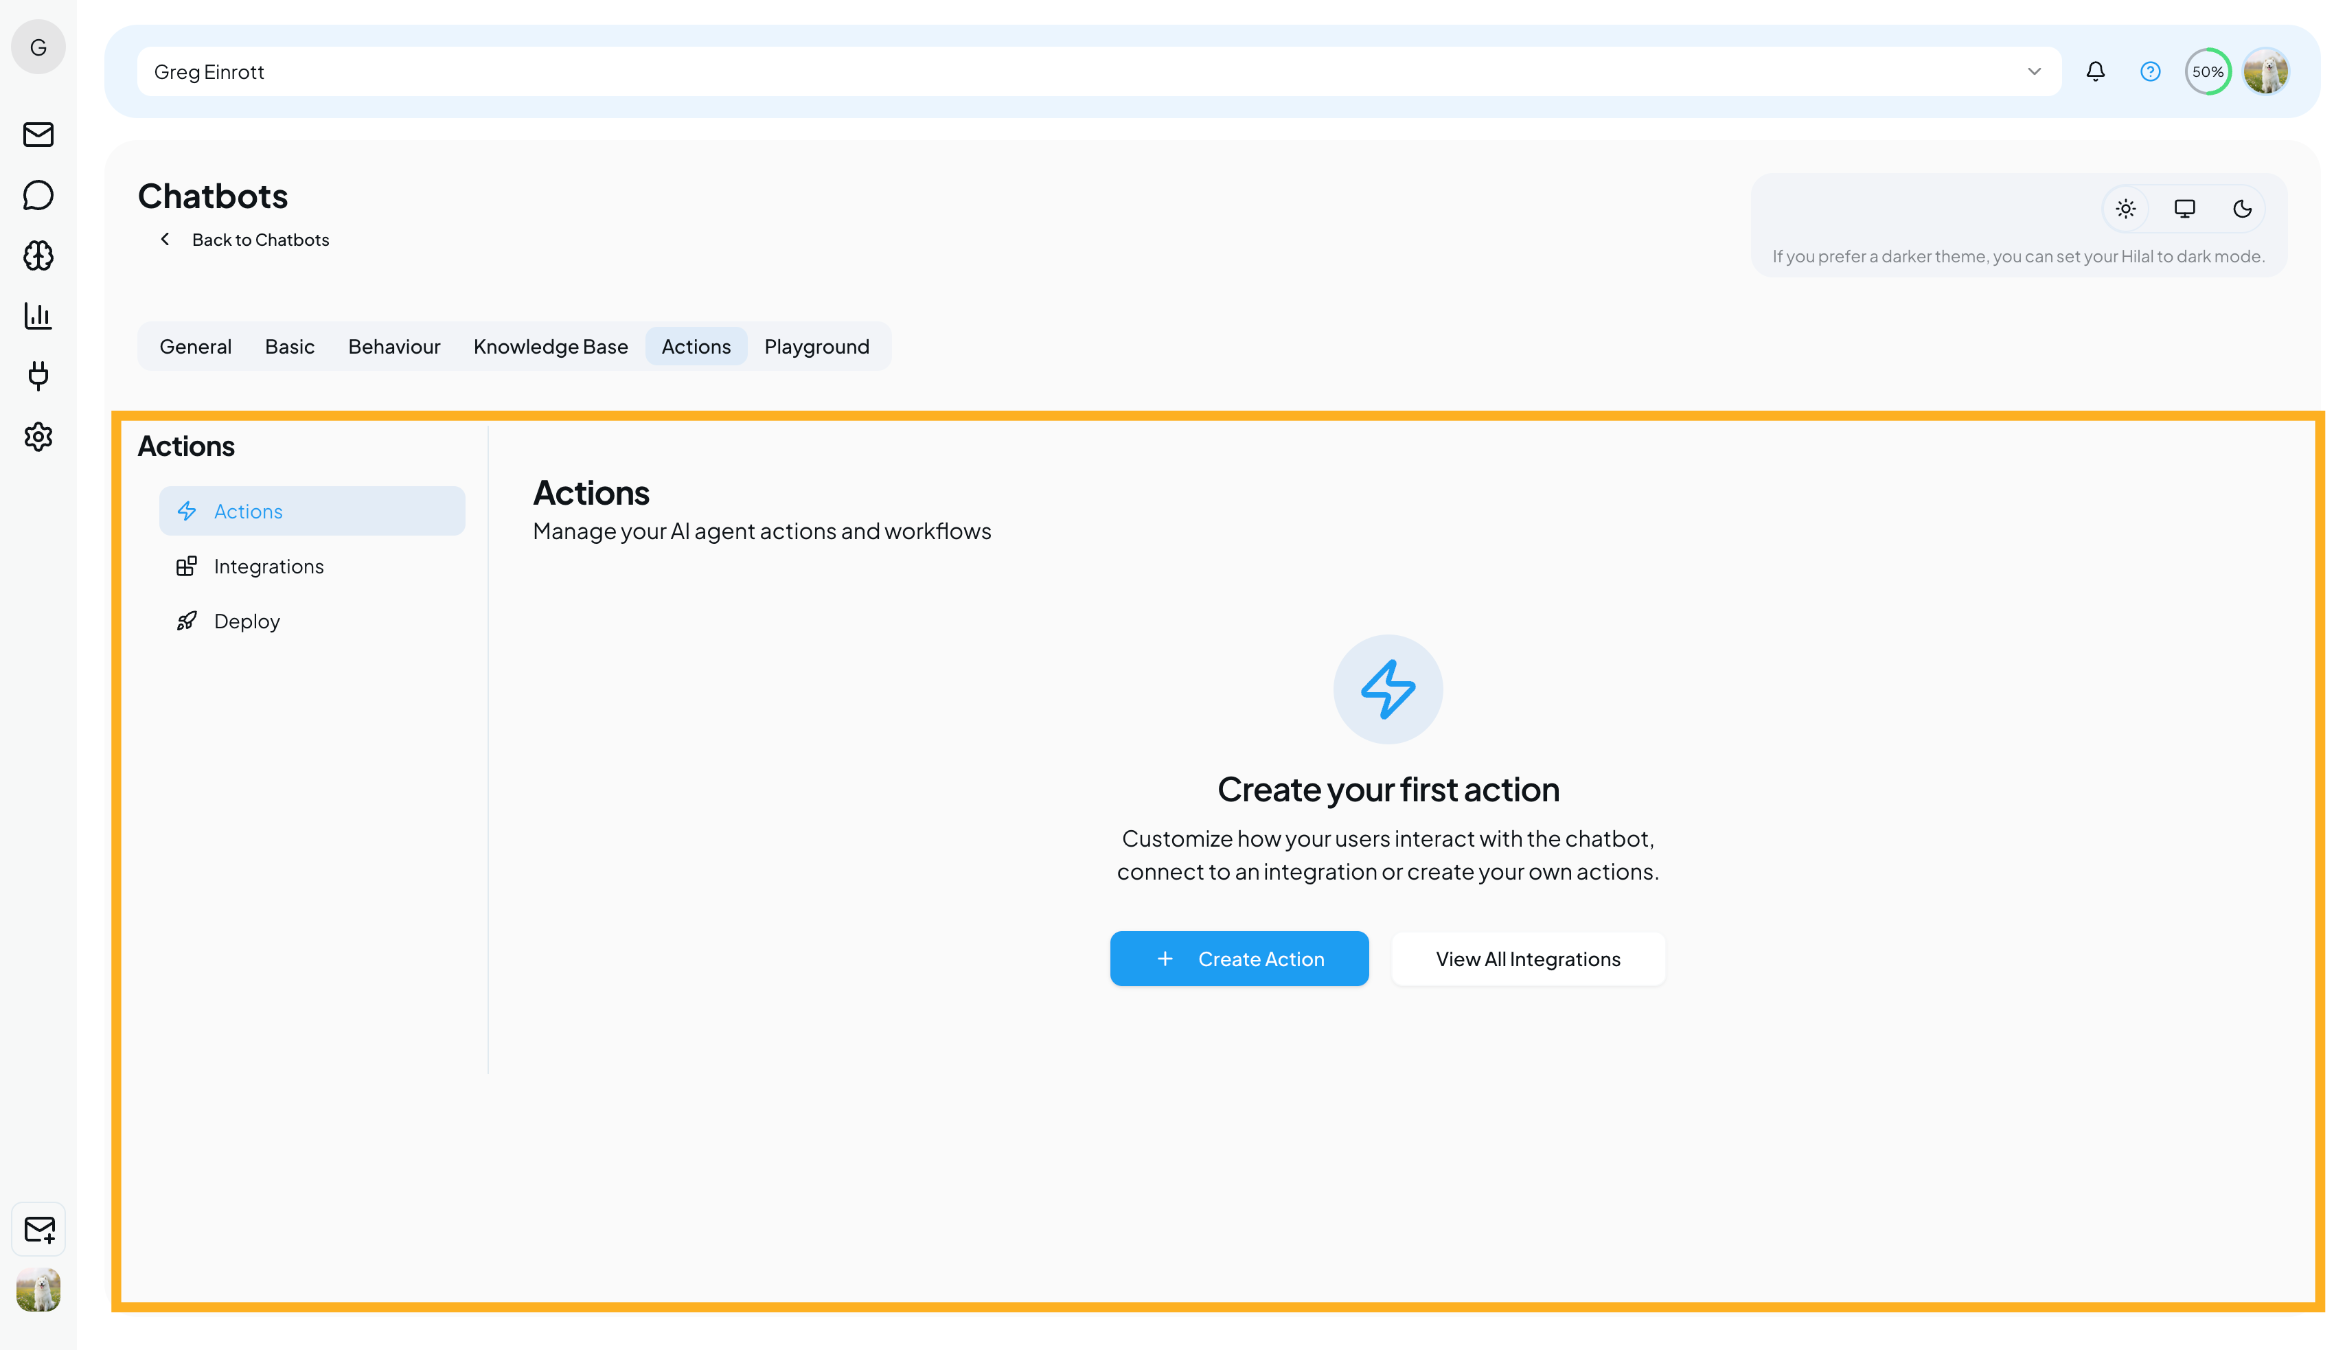
Create custom workflows to extend what your chatbot can do.
View Actions guide →- Integrations – Connect tools like Slack, Calendly, WhatsApp, and Facebook Messenger
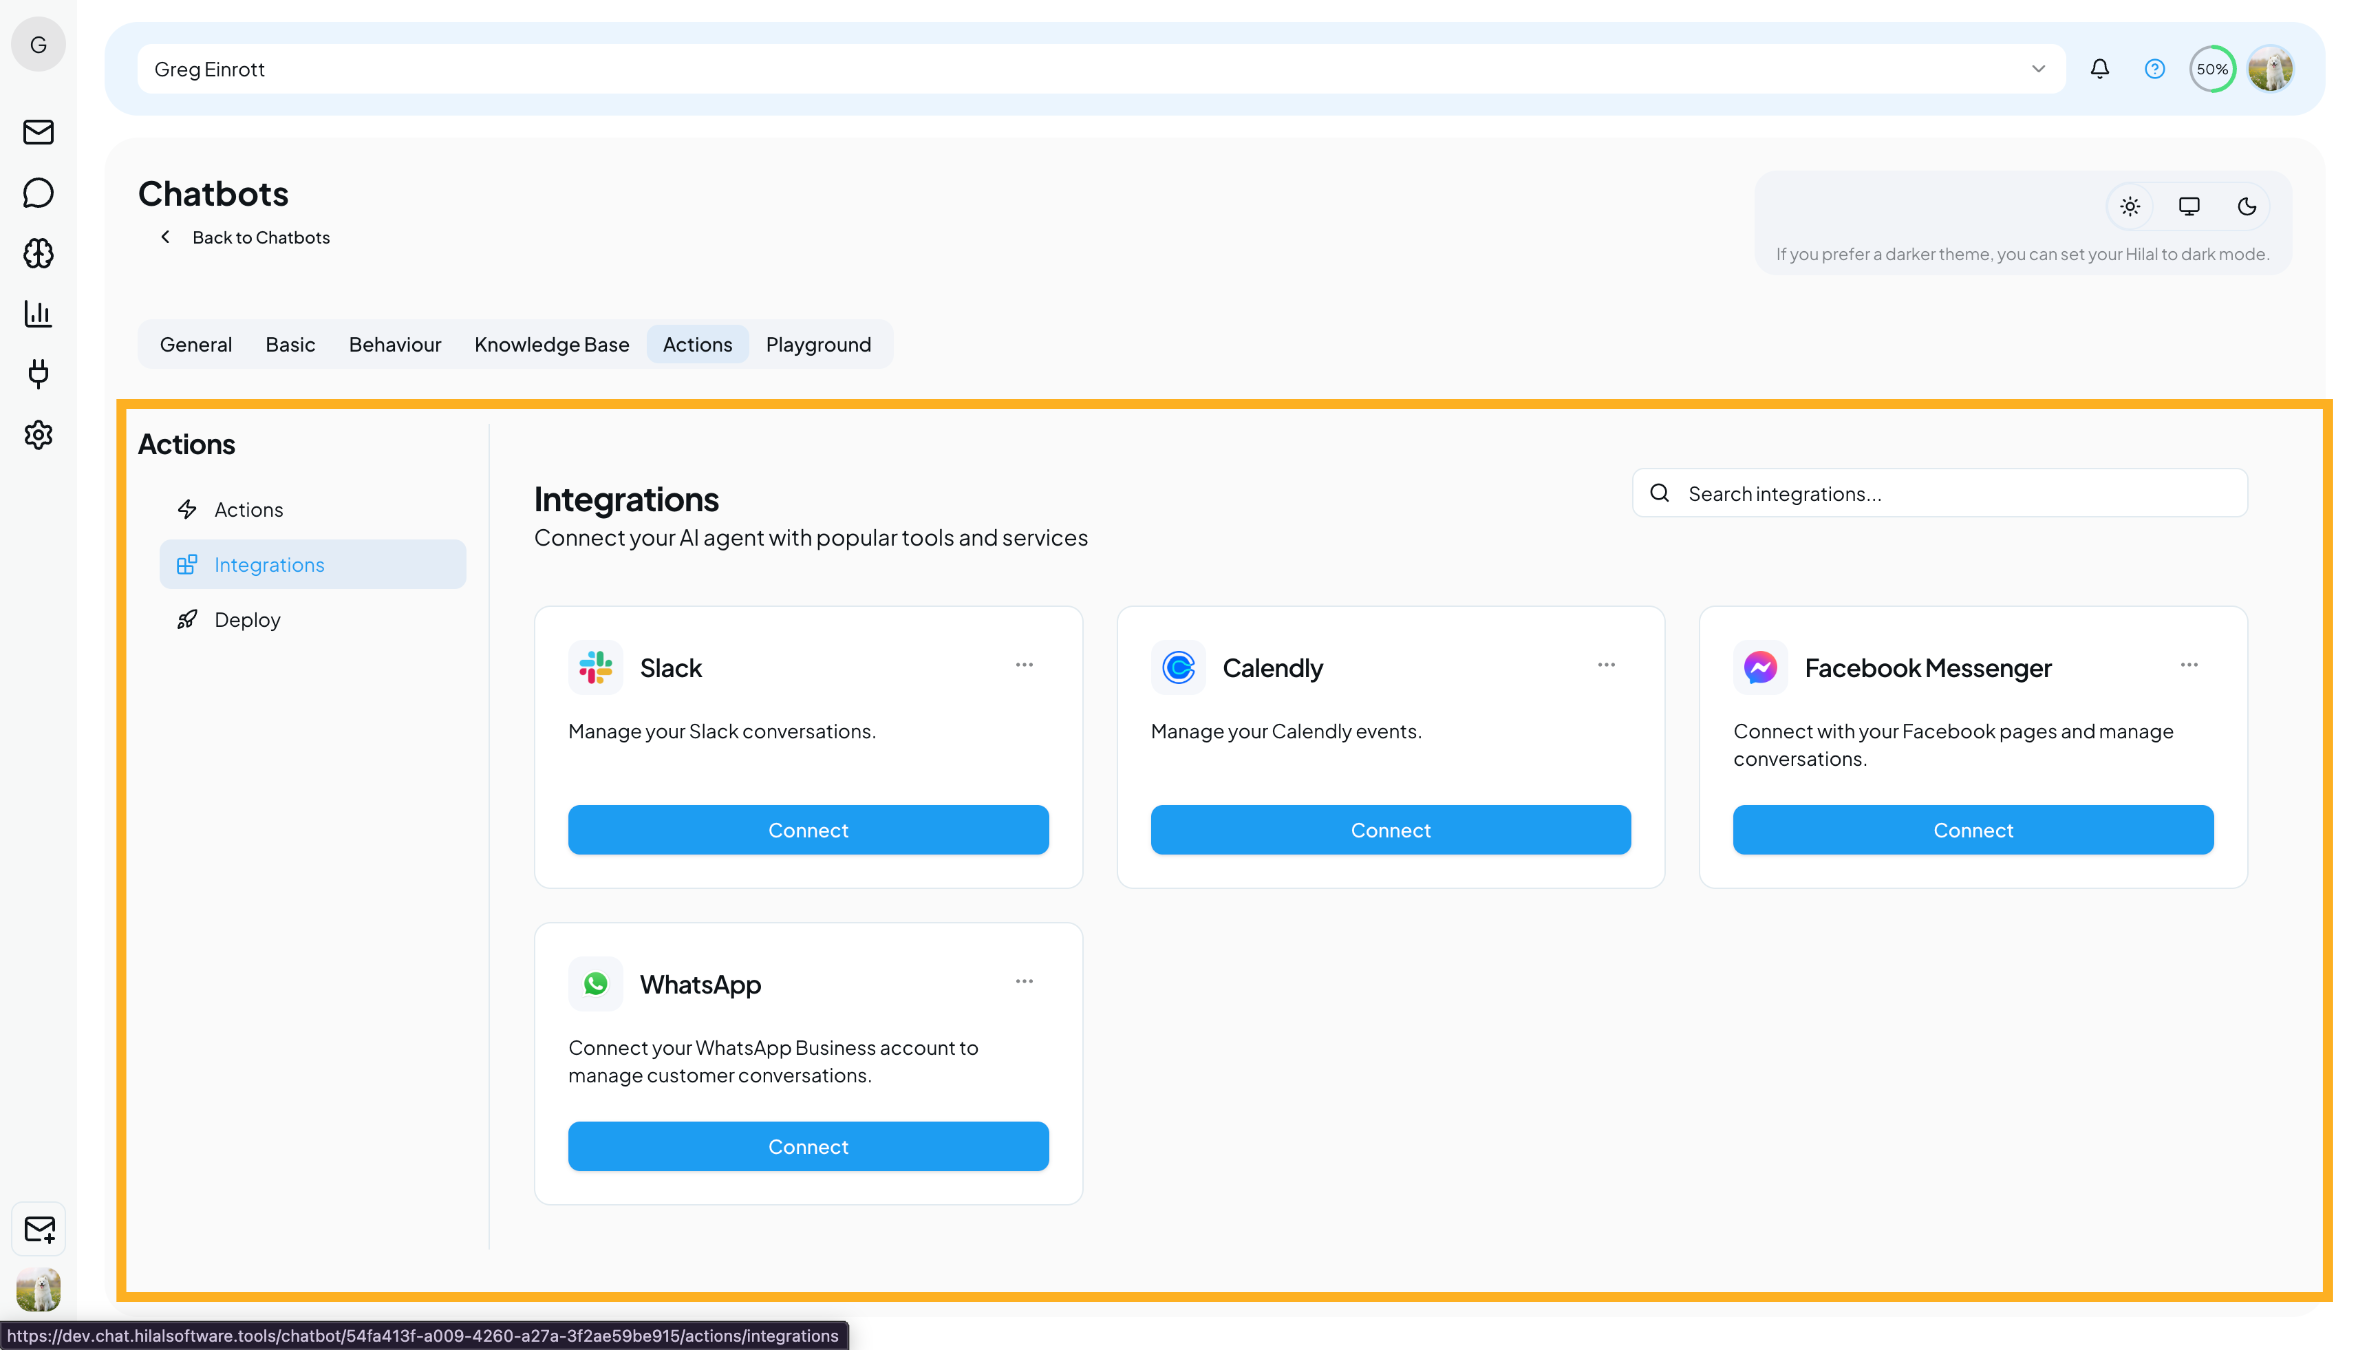
Connect external tools like Slack, Calendly, WhatsApp, and Facebook Messenger.
View Integrations guide →- Deploy – Make your chatbot live on different platforms
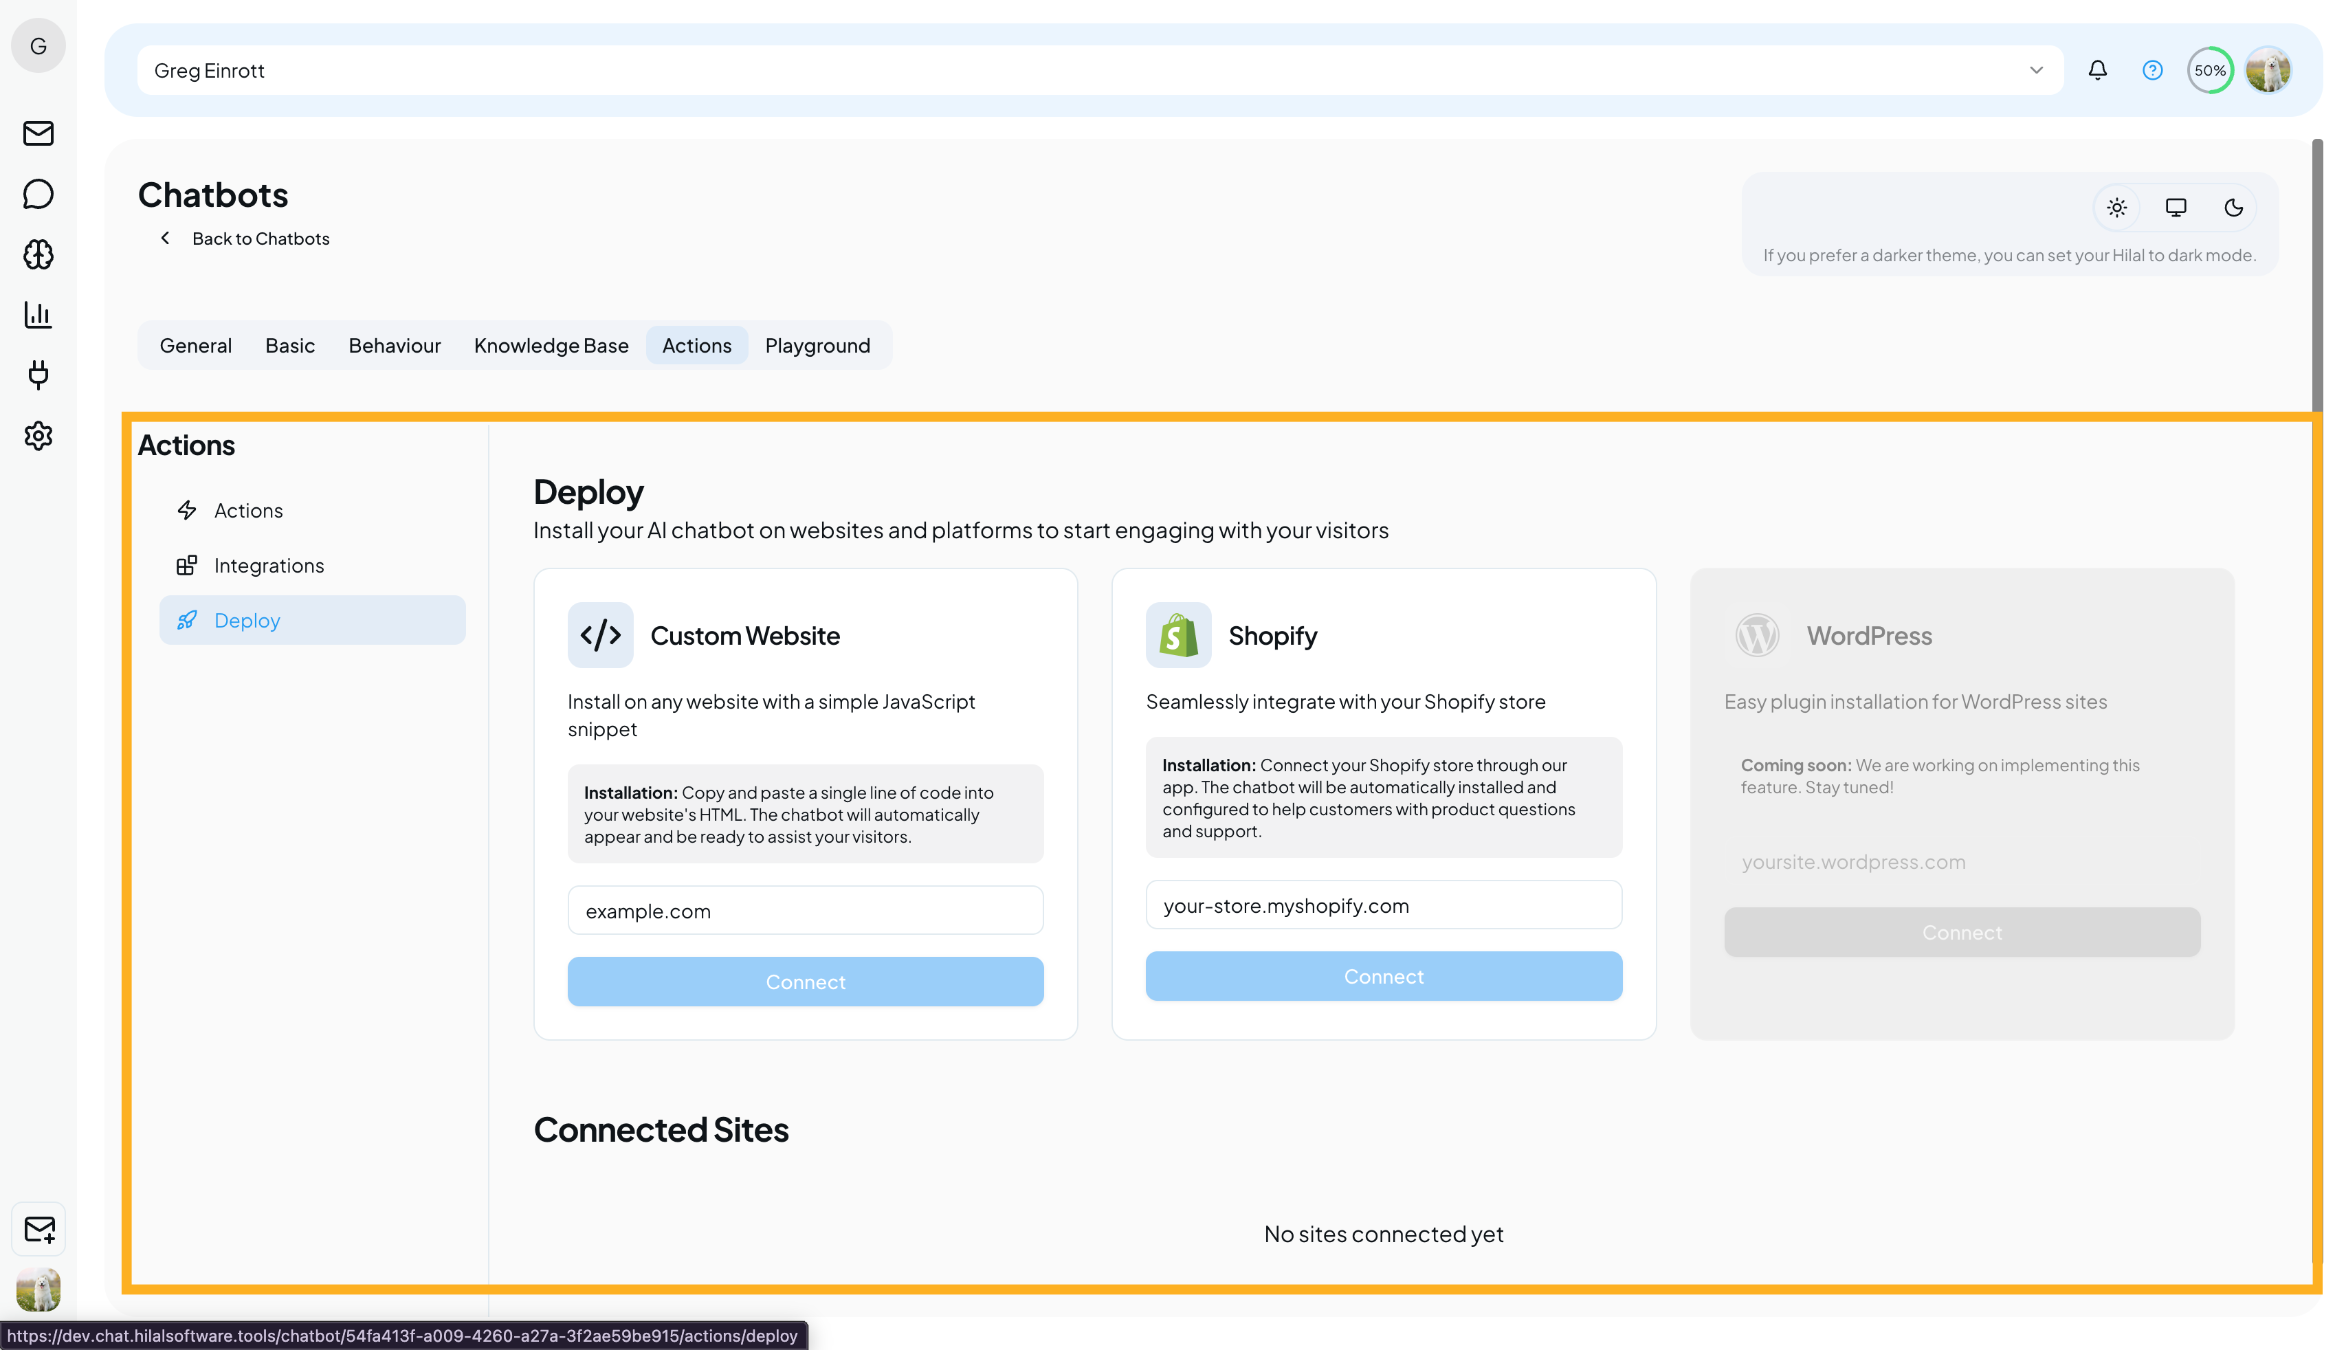
Deploy your chatbot across websites and supported messaging platforms.
View Deployment guide →Playground – Test Your Chatbot
The Playground is where everything comes together.
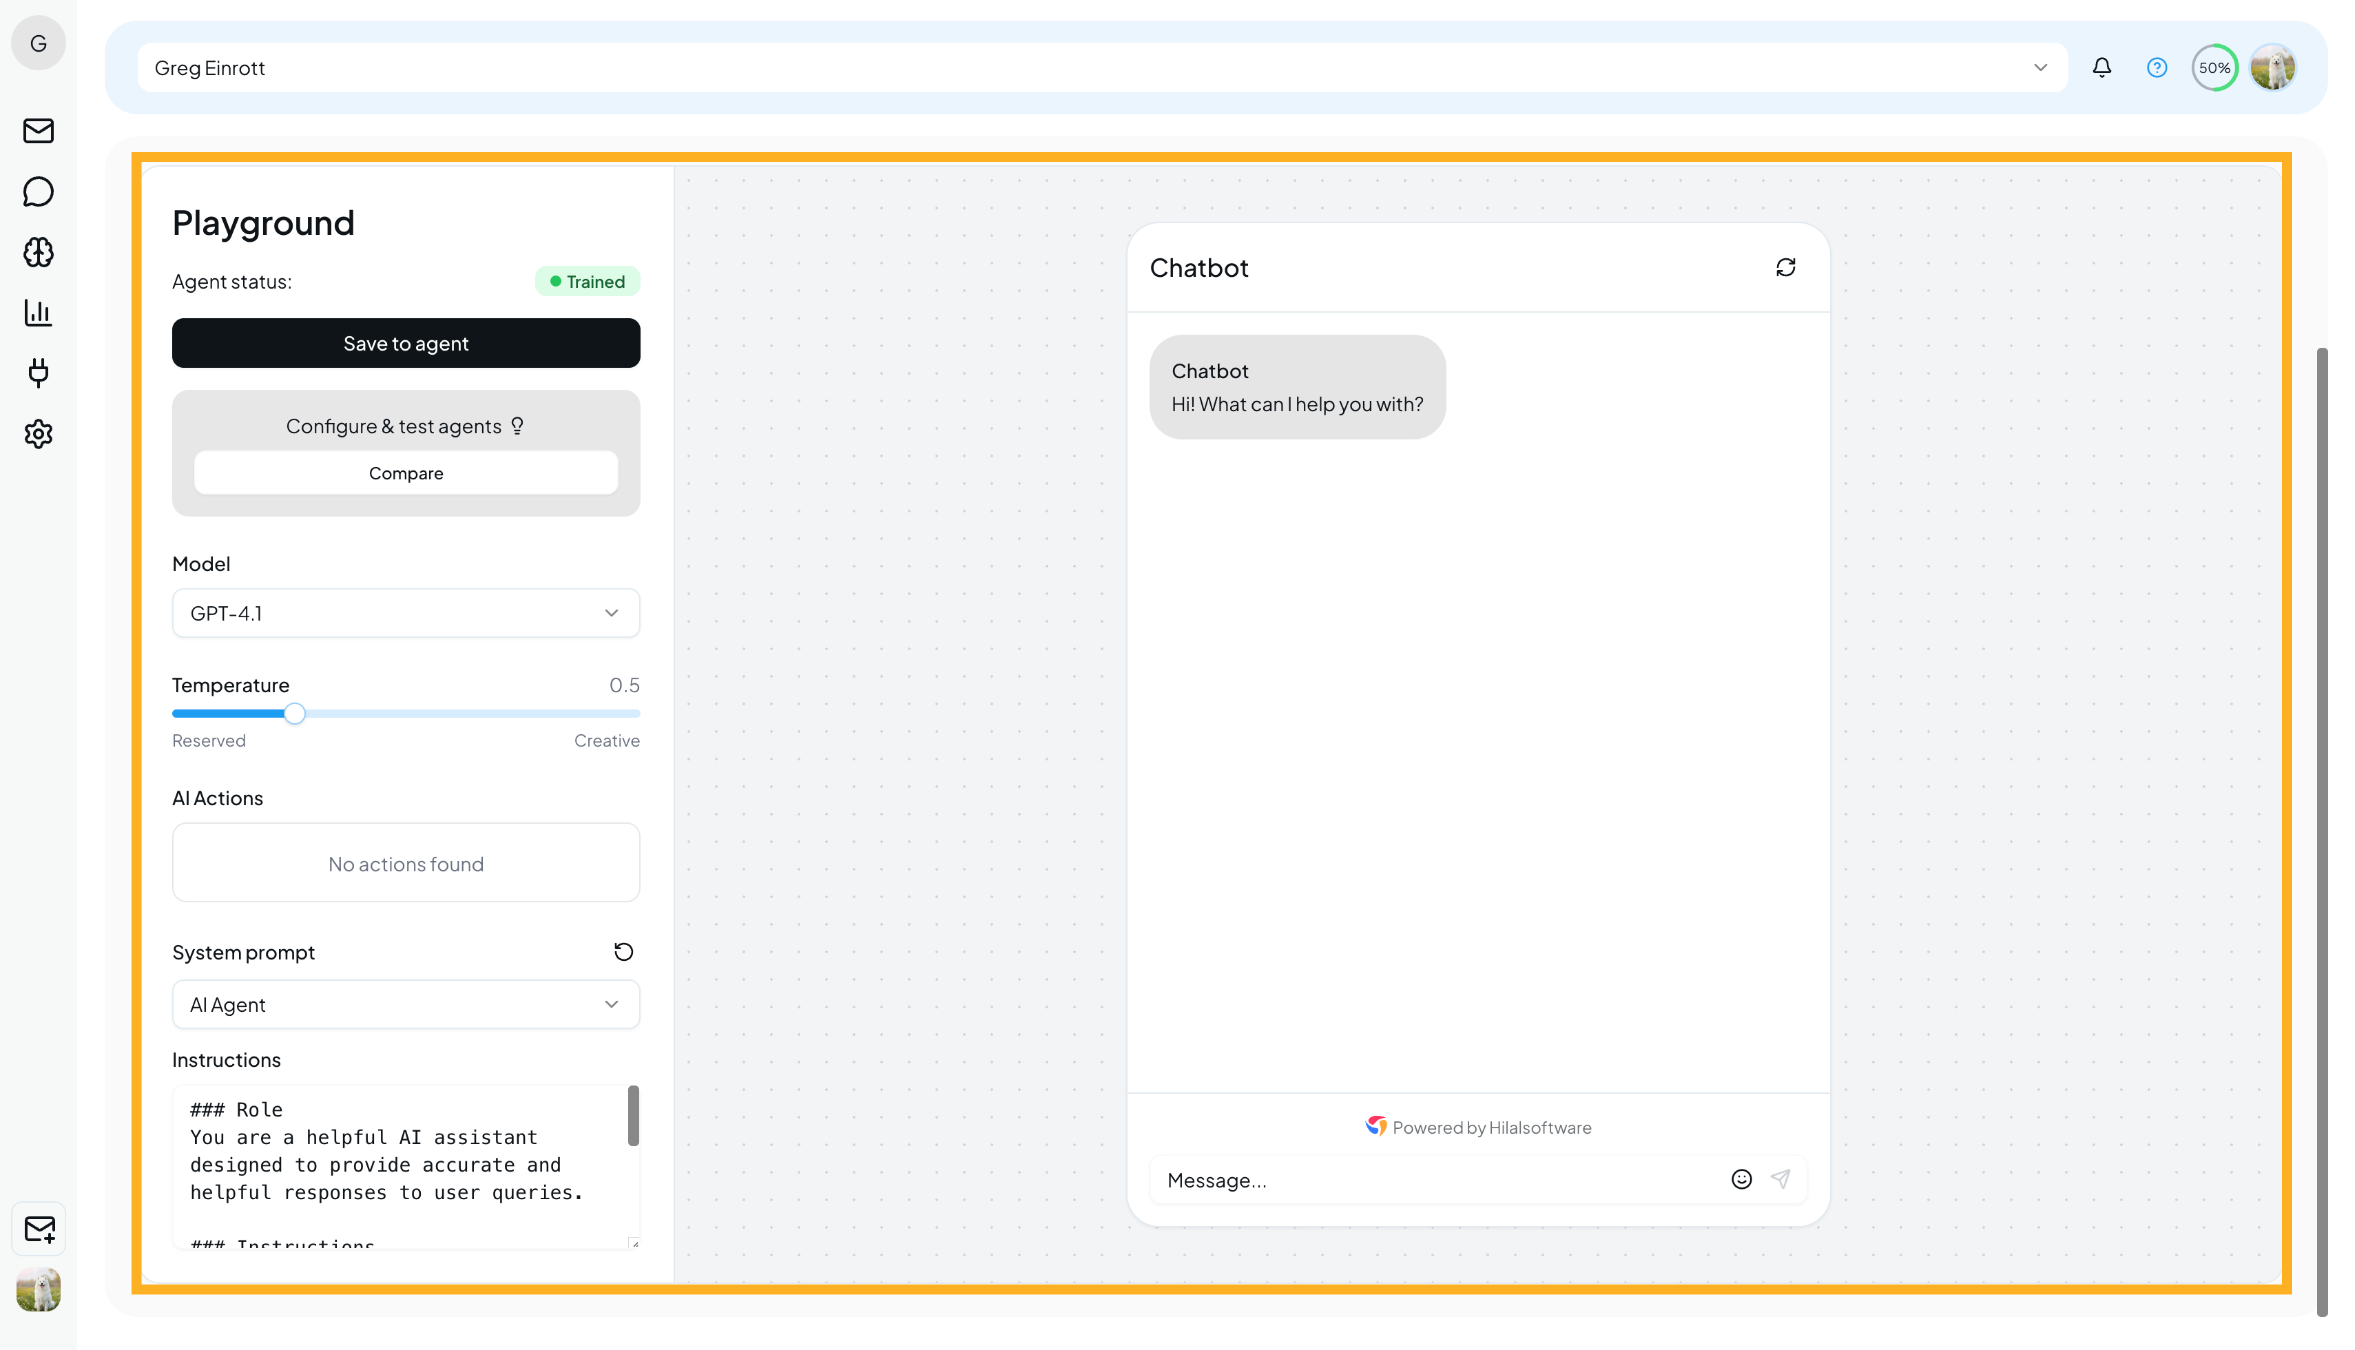
Once your chatbot is trained, you can:
- Test real user questions
- Verify response accuracy
- Check tone and behavior
- Experiment with different prompts
You can also:
- Choose the AI model
- Adjust temperature (response randomness)
- Save changes directly to the agent
🧪 Best Practice: Always test in the Playground before deploying your chatbot live.
What’s Next?
After completing setup, you can:
- Add more knowledge sources
- Fine-tune behavior and appearance
- Enable integrations
- Deploy the chatbot to your website or apps
- Monitor performance through analytics
➡️ Continue to the next sections to explore Knowledge Base, Actions, and Deploy in more detail.