Sign up and set up your organization
In this guide you’ll create your account, set up your first organization (the workspace where everything lives), and optionally invite a teammate so you’re not building alone.
Step 1: Create your account
Go to the Hilal Chatbot sign-up page and create an account with email + password .
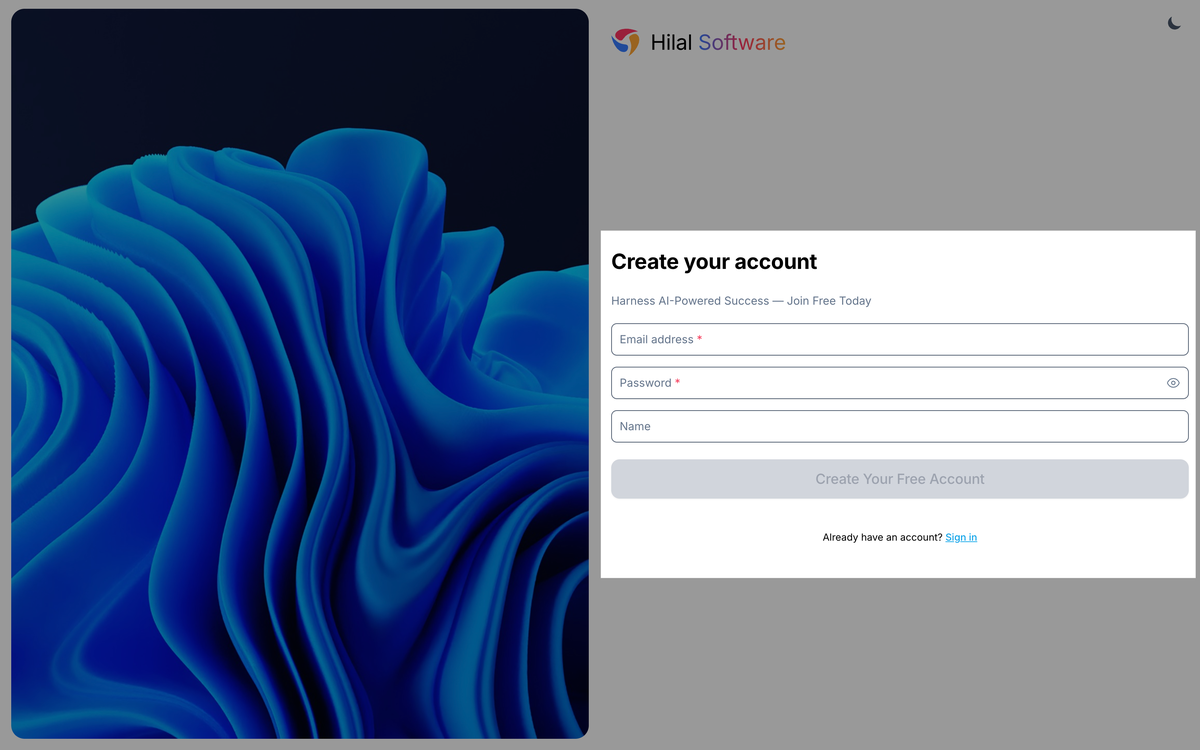 Screenshot: The sign-up screen with email
If you arrived from an invitation email, the sign-up form pre-fills your email and the organization you’ve been invited to — accept and you’ll skip Step 2.
Step 2: Your organization
An organization is created automatically when you sign up, using the name provided during sign-up. If no name was entered, the organization name is derived from your email address instead.
You can rename your organization at any time from Settings → Organization. Choose a name that is easy to recognize, as it appears in the organization switcher.
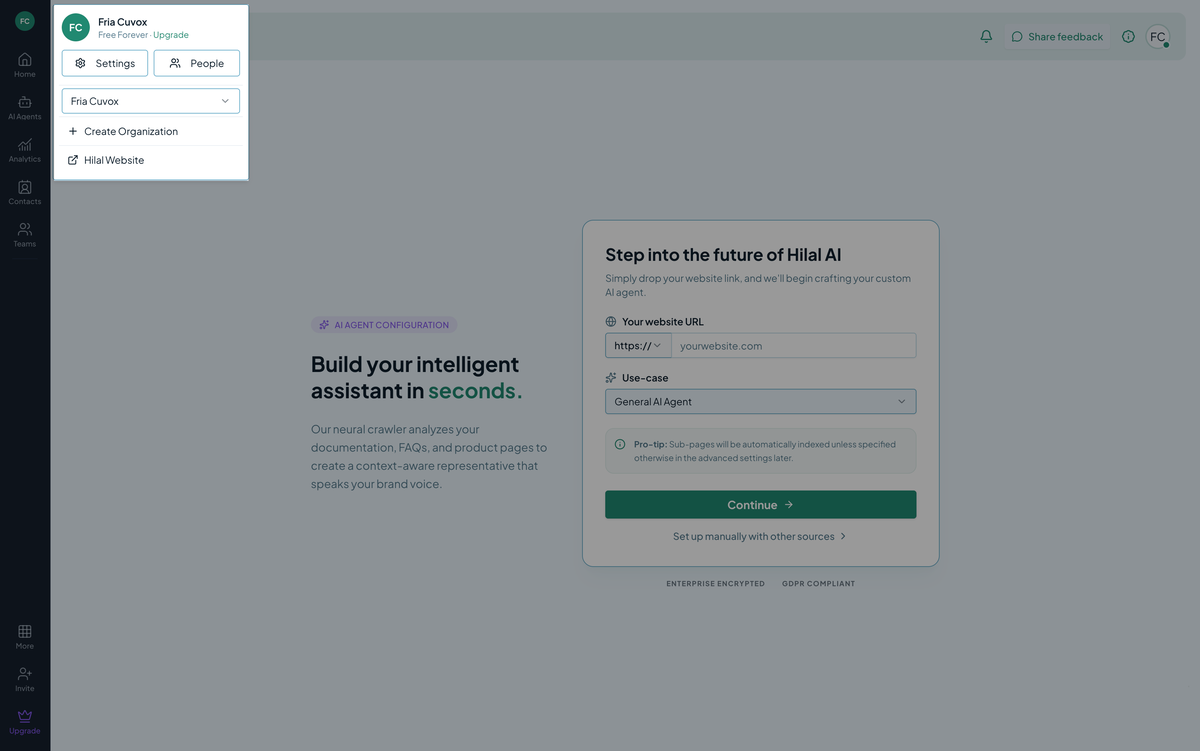 Screenshot: “Your organization” after creating an account.
A few notes:
- One account can belong to many organizations. Most users start with one.
- Each organization has its own billing, members, chatbots, and integrations. Data does not cross organizations.
- You can leave an organization later from Settings → Members, but you cannot delete your only organization without deleting your account.
Step 3: Invite a teammate (optional)
You don’t need teammates to ship a chatbot — skip this if you’re solo. To invite someone now, head to Settings → Members → Invite member, enter their email, and pick a role:
- Owner — full access, can delete the organization. Reserve for one or two people.
- Admin — can manage members, billing, and every chatbot.
- Member — can use chatbots and access conversations they have permission for. Use per-chatbot permissions for finer control.
The invitee gets an email with a sign-up link. They become an active member as soon as they accept; pending invites can be revoked from the Members page.
For the full flow, see Members & invitations.
Step 4: What happens next
After sign-up, you land on the Home dashboard. From here, the onboarding wizard guides you through creating your first chatbot. Once the wizard completes, your chatbot is created and you are redirected to that chatbot’s page.
If you prefer to create a chatbot manually instead, you can skip the wizard and go to the Chatbots page to create one yourself.
Troubleshooting
- “Email already in use” on sign-up. That email belongs to an existing account; sign in instead, or use the password-reset flow.
- The invitation link looks expired. Invitations expire after 7 days. Ask the inviter to send a fresh one.