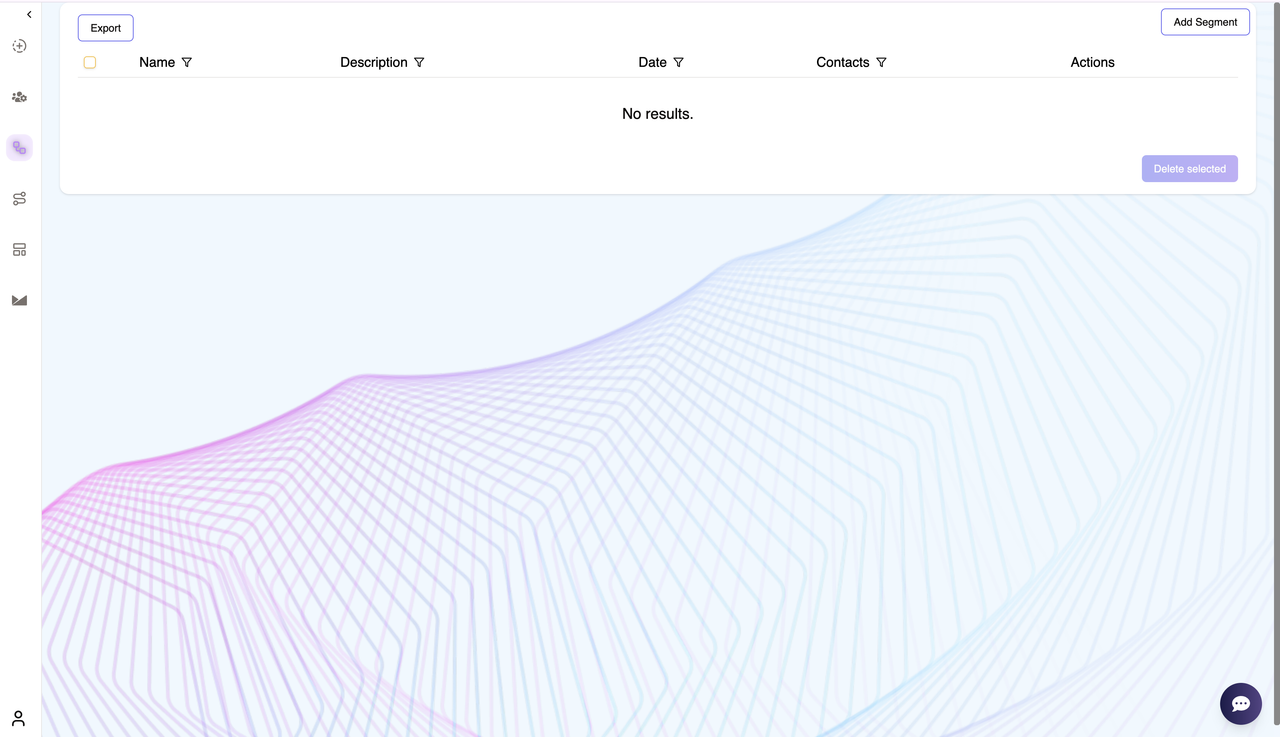
Segments & Lists
The Segments and Lists allows users to organize contacts into specific groups for targeted communication. Users can either export existing segments or create new segments based on conditions that define the behavior, location, or membership of a contact.
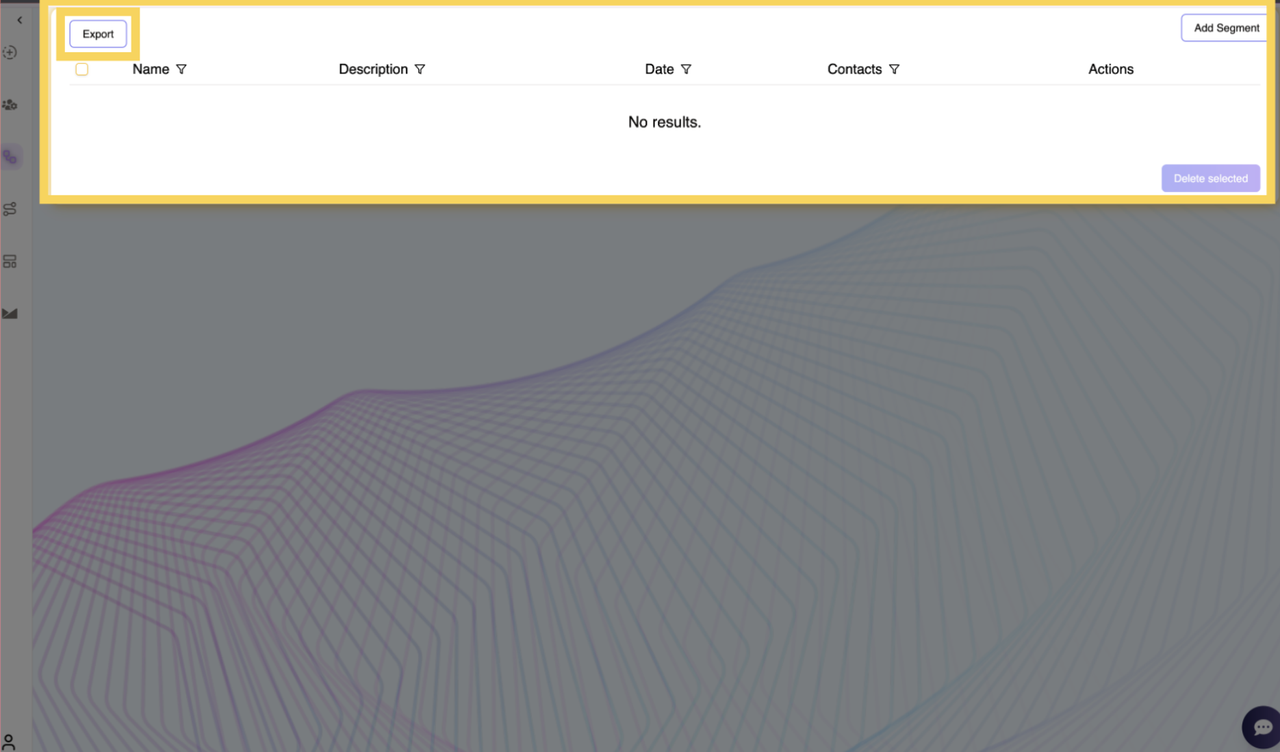
Exporting Segments
Clicking the Export button downloads an Excel file containing all segment details, including:
- Segment Name – The name assigned to the segment.
- Description – A brief explanation of the segment’s purpose.
- Date Created – The timestamp when the segment was added.
- Number of Contacts – The count of contacts assigned to this segment.
This feature is useful for reviewing segment data offline or integrating with external tools for further analysis.
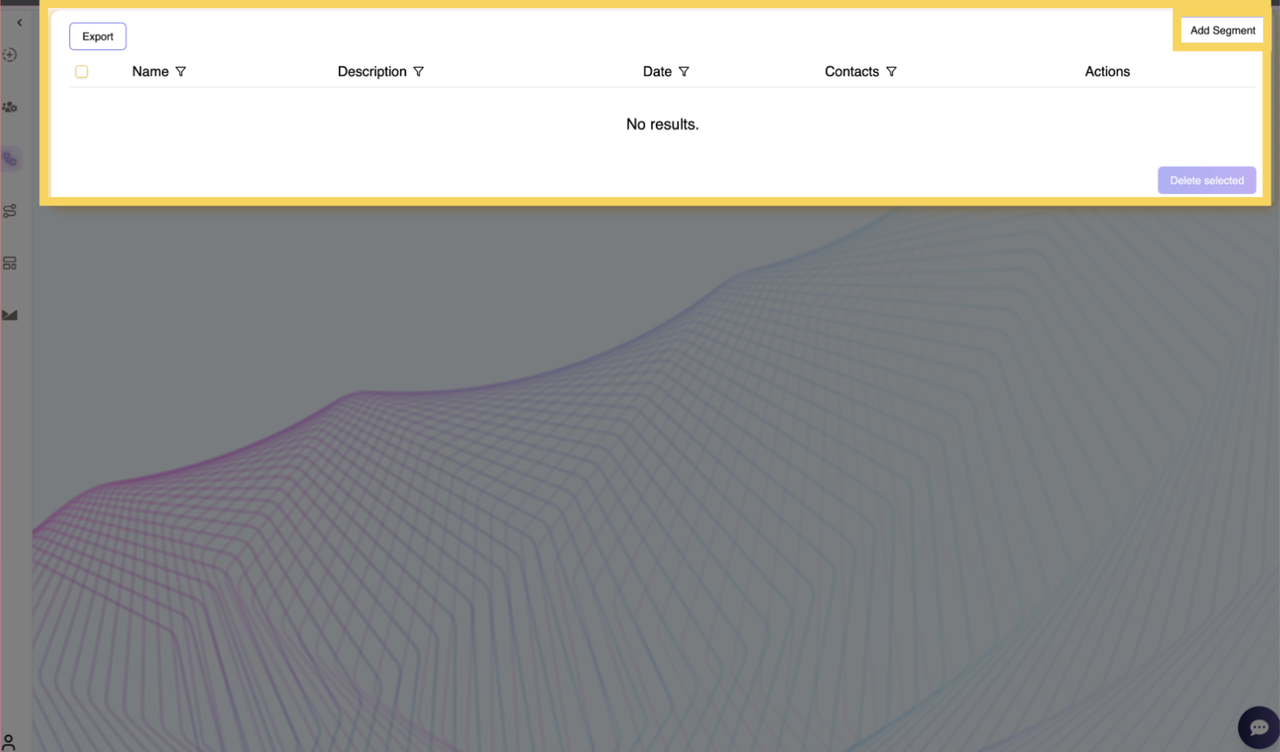
Adding a New Segment
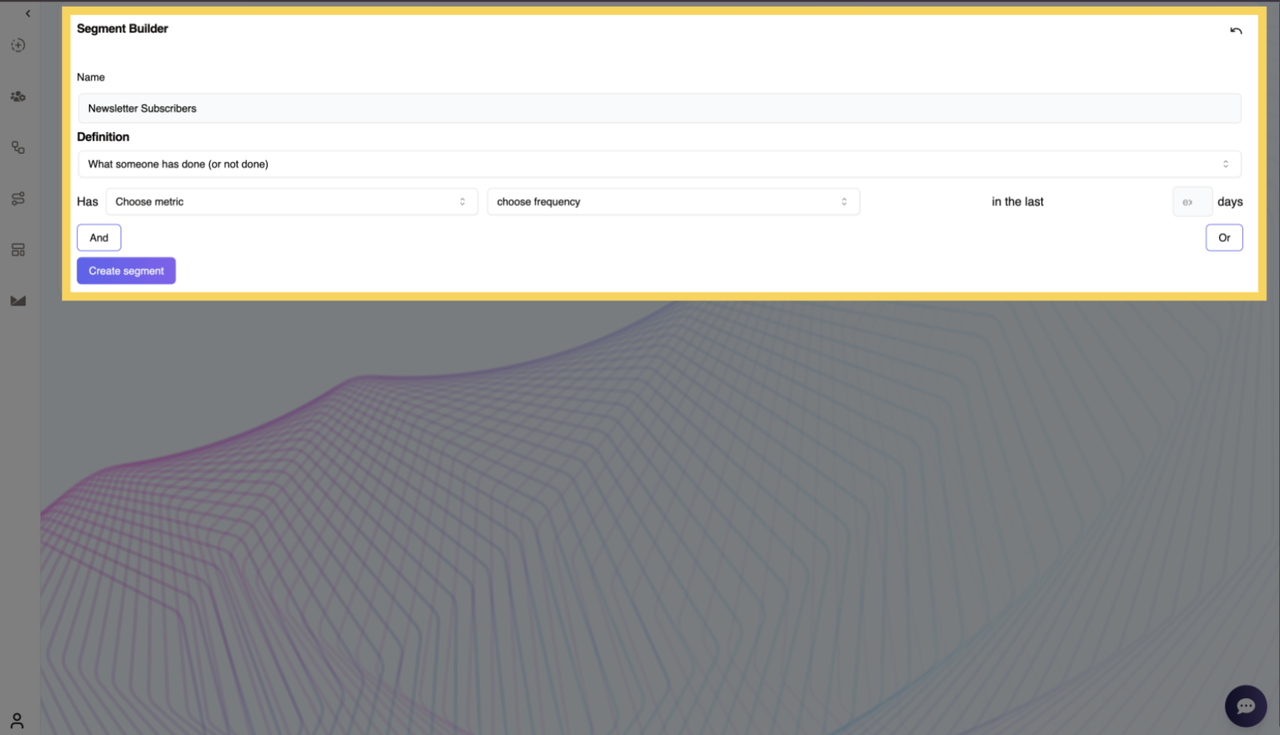
Clicking the Add Segment button directs users to the Segment Builder page, where they can define new segments by specifying its name and defining conditions.
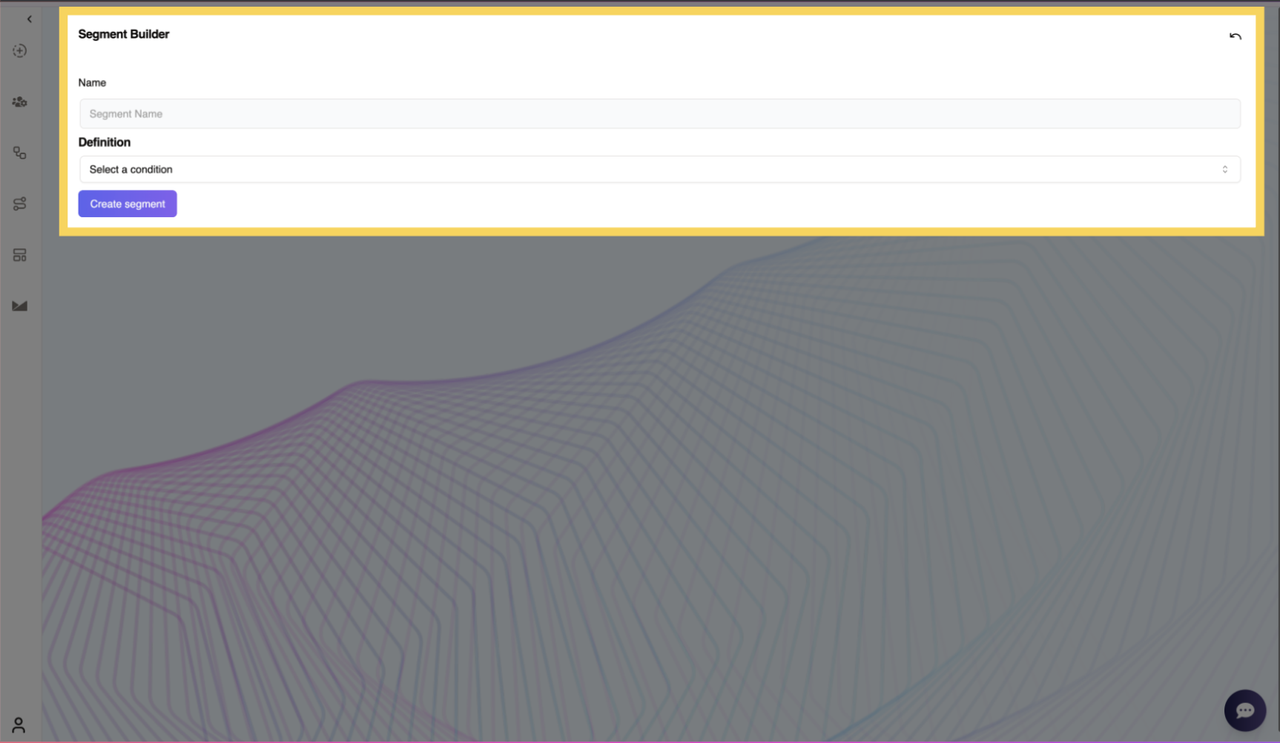
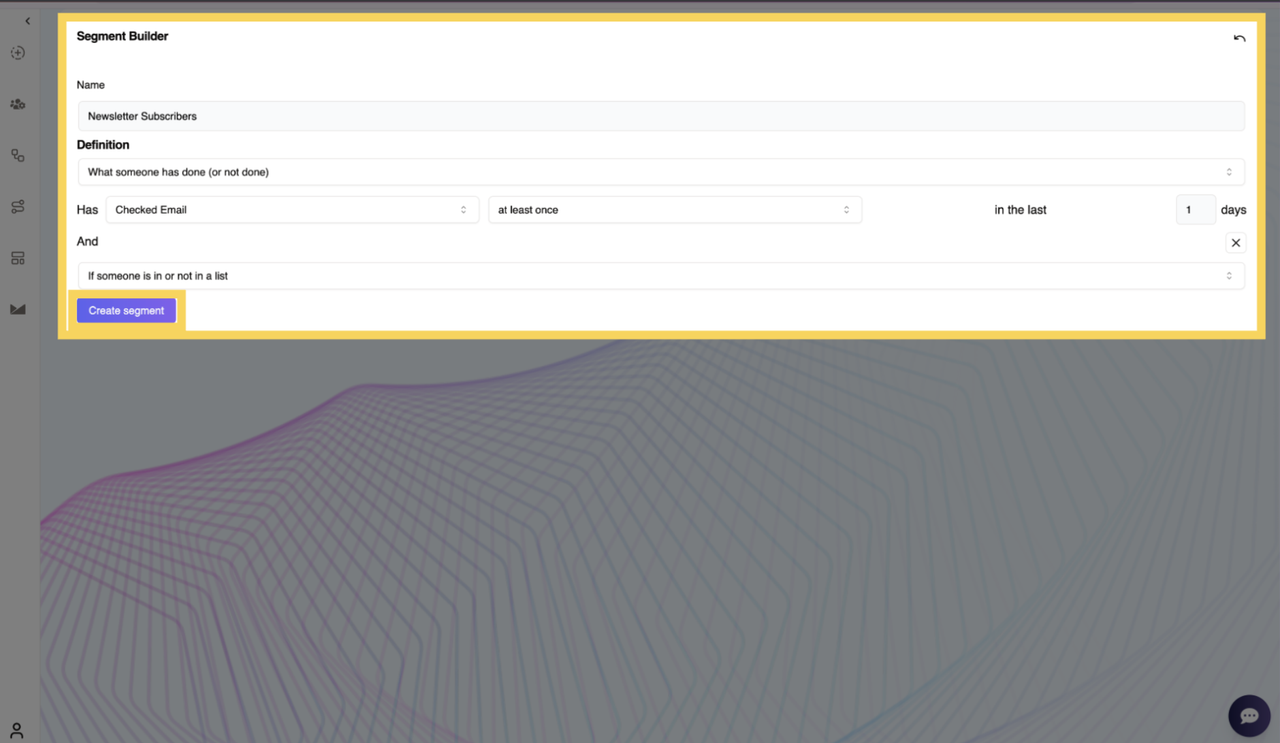
Creating a Segment
- Enter a Segment Name – Users provide a name for the segment to easily identify it.
- Define Conditions – Users select from the available conditions to specify how contacts are grouped based on specific actions, location, or list membership.
Segment Conditions
Users can define segments using one or multiple conditions, with an AND / OR operator to combine multiple rules. When creating a segment, users can choose from three primary conditions:
1. What Someone Has Done or Not Done
This condition allows users to filter contacts based on their past interactions. Users must specify:
- Metrics: Choose from a dropdown list:
- Bounced – The email failed to deliver.
- Checked – The user checked/opened a message.
- Clicked Mail – The user clicked a link inside an email.
- Failed to Deliver SMS – The SMS message was not successfully sent.
- Opened Email – The user opened an email.
- Frequency: Define how often the action has occurred:
- At least once
- Twice
- More than three times
- Less than three times
- Time Frame: Specify the number of days for tracking the action.
- Example: “Opened Email at least once in the last 30 days.”
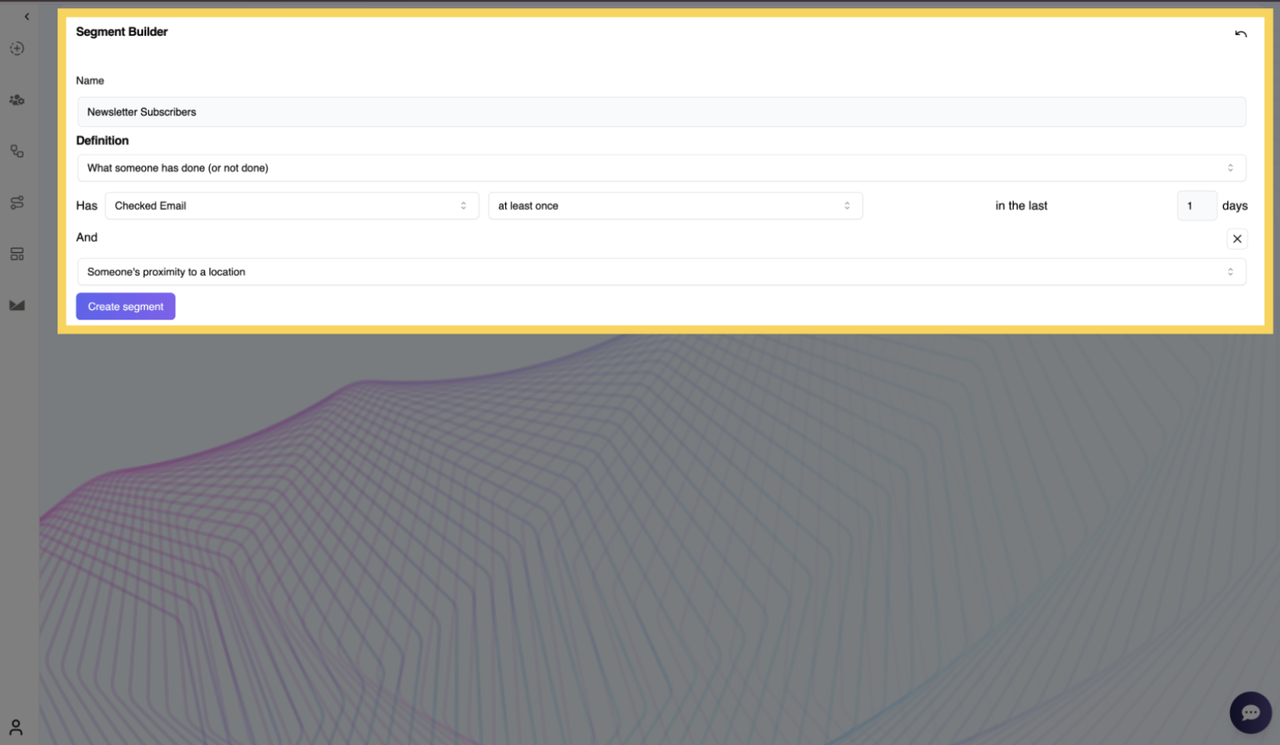
2. Proximity to a Location
This condition allows users to filter contacts based on their geographical location. It is useful for targeting users within a specific region or radius.
Example:
- “Include contacts who are within 10 miles of New York City.”
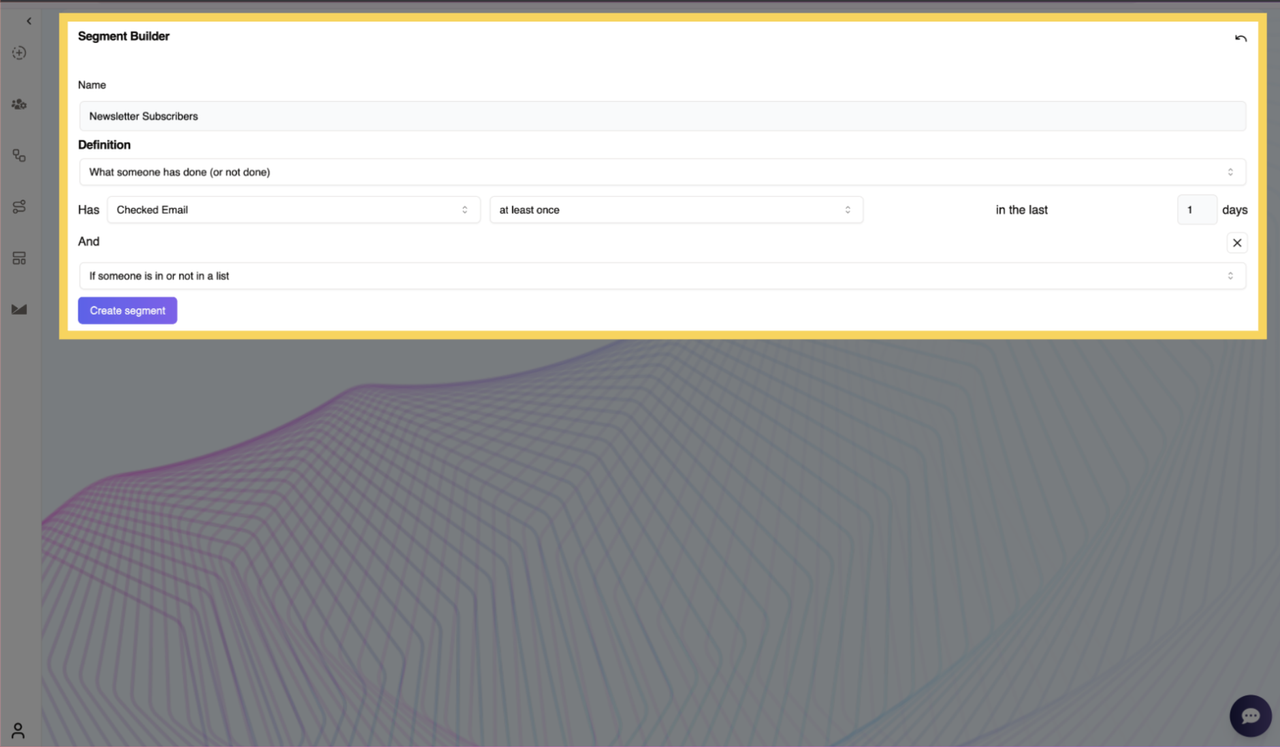
3. If Someone Is In or Not In a List
This condition helps users filter contacts based on whether they belong to a particular list.
Example:
- “Include only users who are in the Newsletter Subscribers list.”
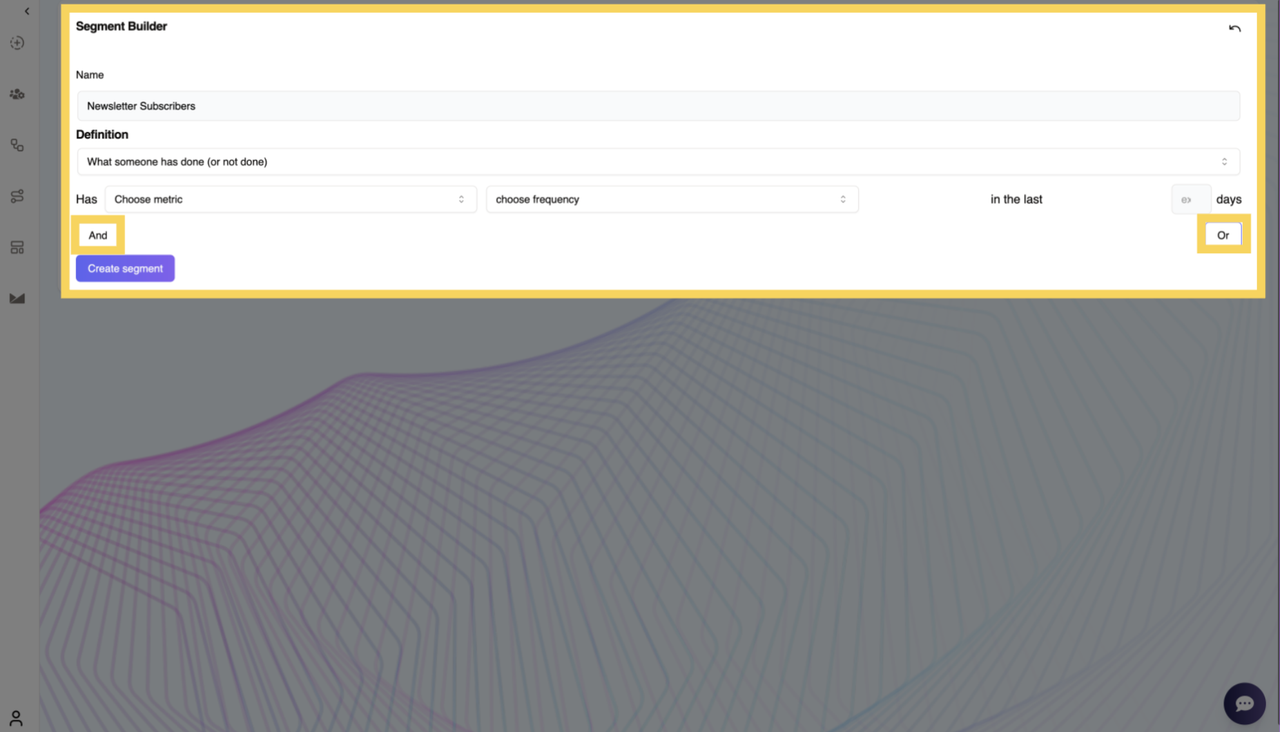
Adding Multiple Conditions
Users can refine their segment by adding multiple conditions using logical operators:
- AND – The contact must meet all conditions to be included in the segment.
- OR – The contact must meet at least one of the conditions to be included.
For example:
- “Users who opened an email at least once AND clicked a mail within the last 30 days.”
- “Users who failed to deliver SMS OR have never checked an email.”
This flexibility allows for highly targeted segmentation strategies.
Creating the Segment
After setting up the conditions, users click Create Segment to finalize and save their segment. The segment will then be available for use in campaigns and further analysis.
This structured approach ensures precise segmentation, enabling users to target contacts effectively.