Vendors List
The Vendors List is the core view where users can manage all vendor-related information in a centralized table format. This section allows users to view existing vendors, search or filter records, and initiate actions such as editing, copying, or adding new vendors. It provides a comprehensive snapshot of each vendor’s type, contact details, status, and associated lead times—ensuring that procurement teams have all the necessary information at their fingertips for efficient supplier coordination.
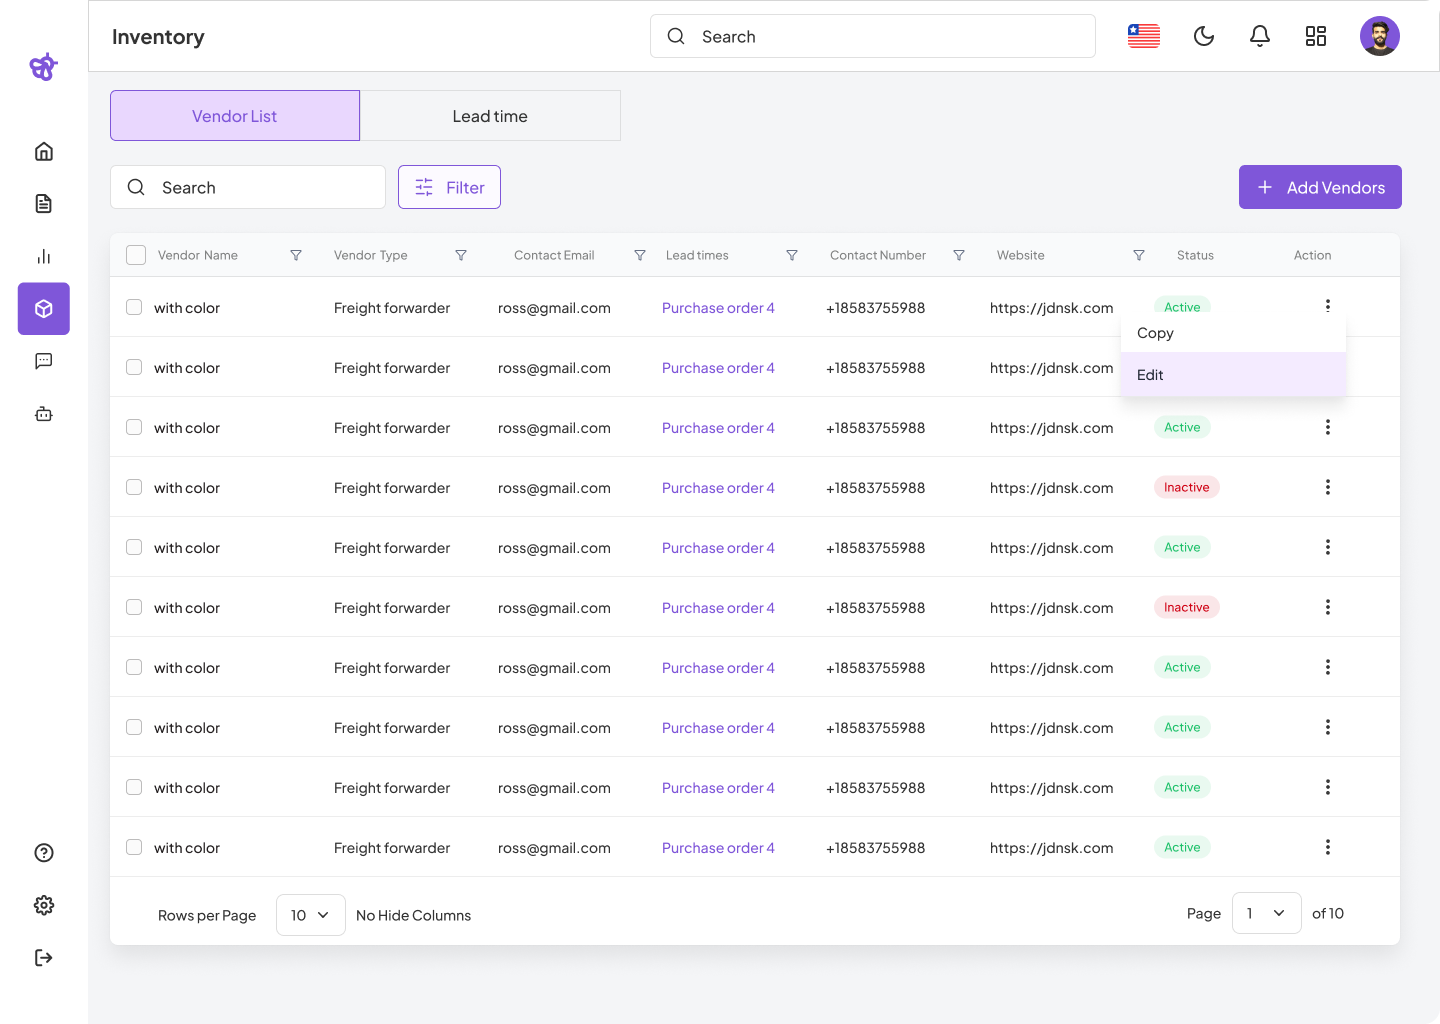
Search & Filter
- Search Bar: Quickly locate vendors by name or keywords.
- Filter Button: Apply advanced filters to refine the list view based on criteria such as status, type, or region.
Vendor Table Columns
- Checkbox: Select one or more vendors for performing bulk actions.
- Vendor Name: Displays the name of the vendor as registered in the system.
- Vendor Type: Classifies the vendor (e.g., Freight Forwarder, Manufacturer).
- Contact Email: Email address of the primary vendor contact.
- Lead Times: Displays any associated purchase order lead time links.
- Contact Number: Shows the vendor’s contact phone number.
- Website: Hyperlinked URL to the vendor’s website.
- Status: Indicates whether the vendor is Active (green) or Inactive (red).
- Action: Opens a contextual menu with actions such as Copy (to duplicate vendor details) and Edit (to modify vendor information).
Add Vendors
- Clicking + Add Vendors launches a guided, multi-step workflow for entering comprehensive vendor information—including company details, contacts, lead times, and blackout dates. This ensures consistent data entry and enables seamless onboarding of new vendors into the system.
Add/Edit Vendors
The Add or Edit Vendor flow is divided into four structured tabs to capture all essential vendor information.
Vendor Information
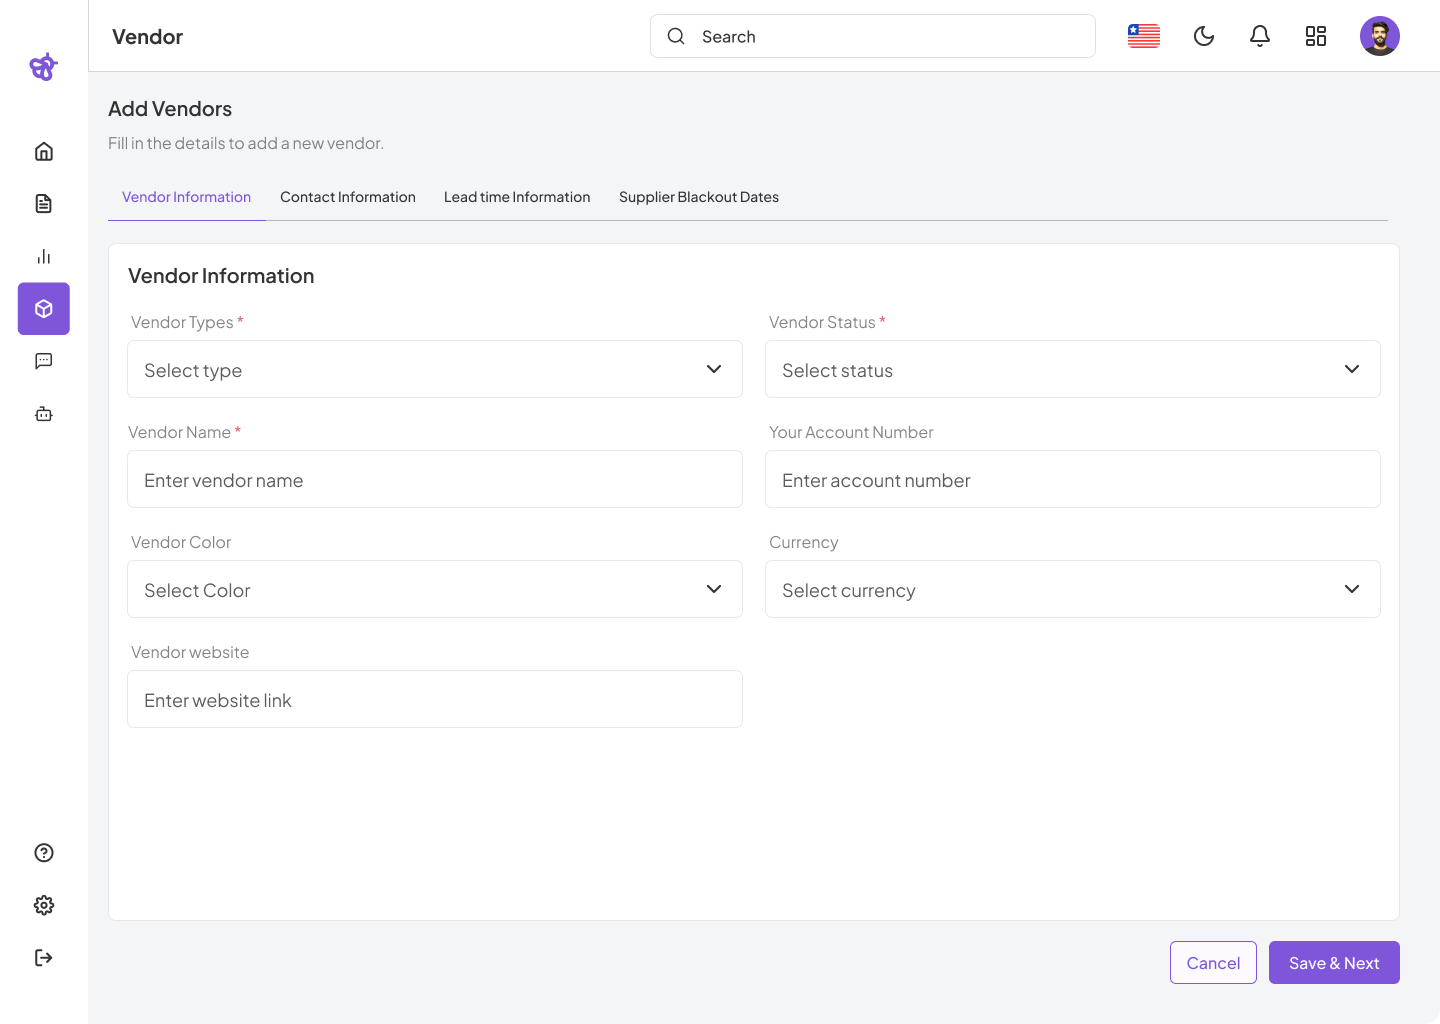
Collect basic vendor identity and status information:
- Vendor Types: Required dropdown for vendor classification.
- Vendor Name: Required field for the vendor’s name.
- Vendor Color: Choose a label color for visual identification.
- Vendor Website: Enter a URL to the vendor’s website.
- Vendor Status: Choose between Active and Inactive.
- Your Account Number: Optional vendor-specific account reference.
- Currency: Select the vendor’s operating currency.
Contact Information
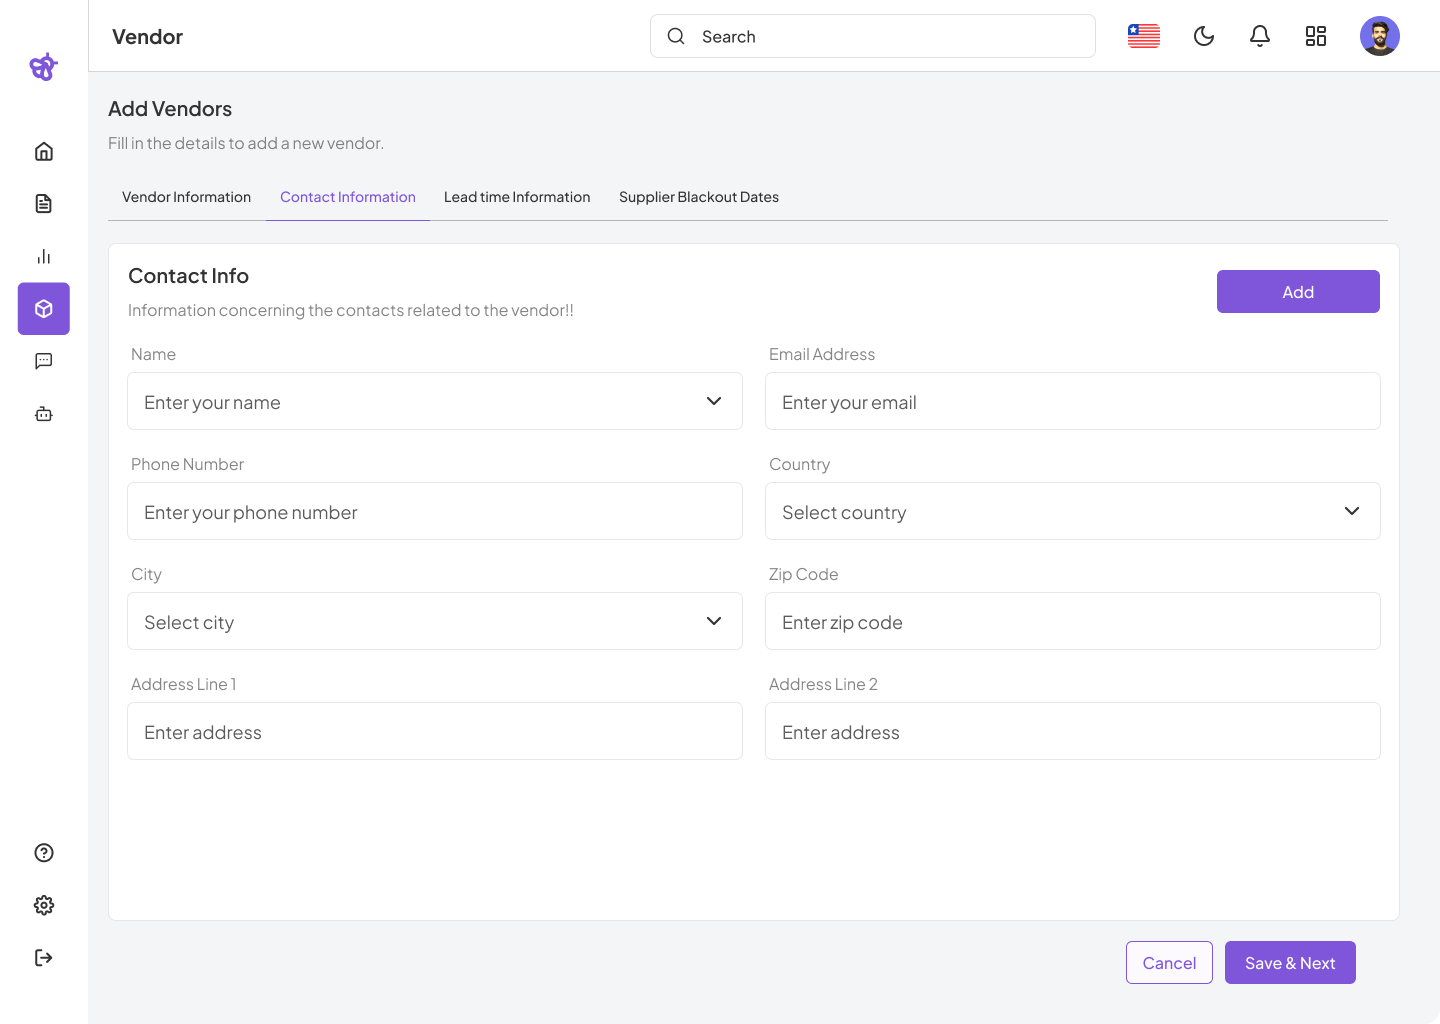
Capture detailed contact information:
- Name: Contact person’s name.
- Phone Number: Phone number of the contact.
- City: Location of the vendor.
- Address Line 1 & 2: Complete address details.
- Email Address: Primary email contact.
- Country & Zip Code: Full geographical address.
Users can add multiple contacts for a single vendor using the Add button.
Lead Time Information
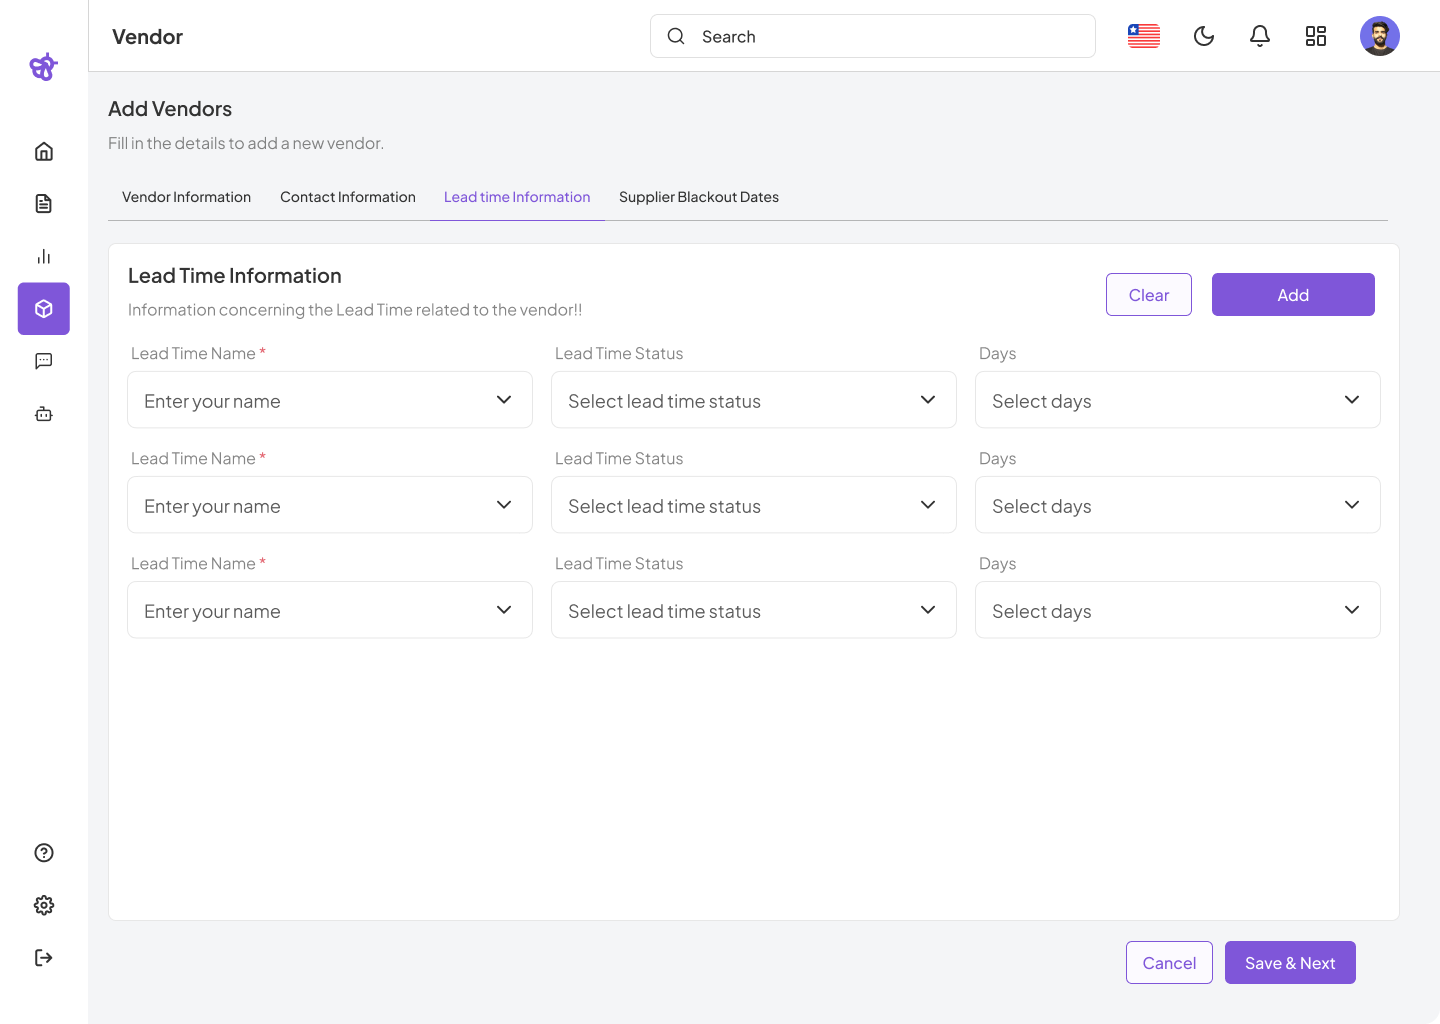
Define the lead times for different procurement stages:
- Lead Time Name: Descriptive name (e.g., Purchase Order).
- Lead Time Status: Set the status (Active/Inactive).
- Days: Number of days estimated for completion.
You can add up to four lead time entries per vendor.
Supplier Blackout Dates

Define periods when a vendor is unable to fulfill orders due to planned shutdowns or holidays.
- Select Date: Choose start and end date using calendar pickers.
- Enter Title: Label for the blackout period (e.g., “Chinese New Year Shutdown”).
- Notes to Supplier: Additional internal or supplier-facing comments.
- Annually: Specify if this blackout repeats every year.
Multiple blackout dates can be created for each vendor, ensuring accurate procurement scheduling.